Easy & Frugal Organization for Children’s Activities or Craft Supplies
I love to be organized. I like everything to have a place so I can easily find and access it when I need it. I really like all of the pretty boxes and organizing systems that you can find in the stores today. However, most of them cost a pretty penny. When you are living on a very tight budget, it’s hard to squeeze out anything extra for something aesthetic.
Last year when I wanted to re-organize my children’s closet, including the numerous art & craft supplies that we own, I really wanted everything to look pretty. But I didn’t have any extra money to spend on the project. That’s when I came up with an easy and frugal method of organizing and displaying all of the supplies in the closet.
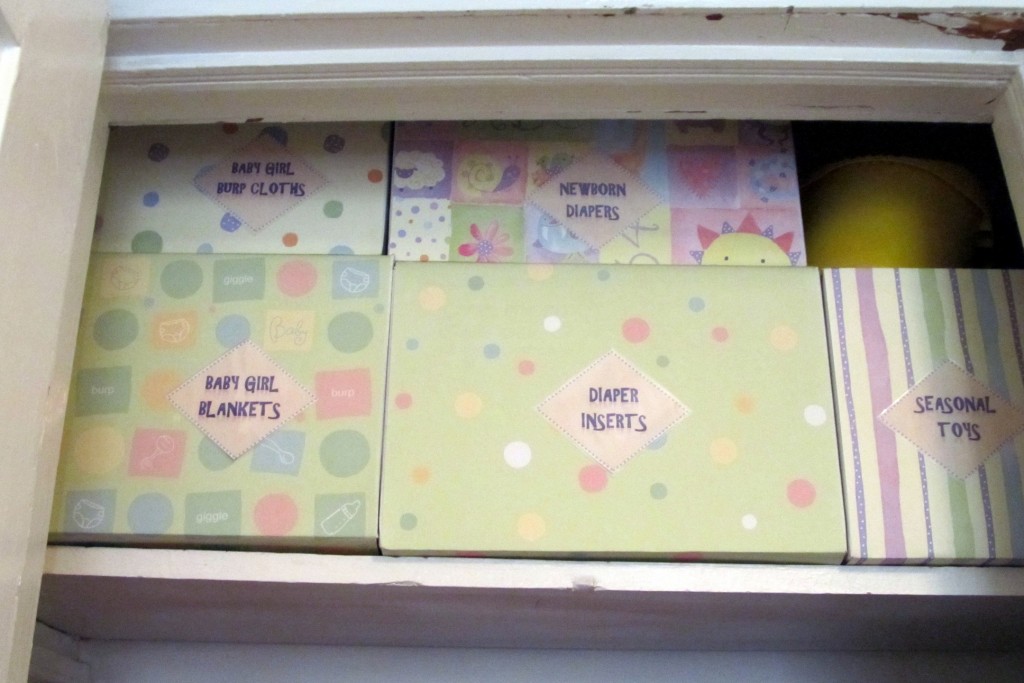
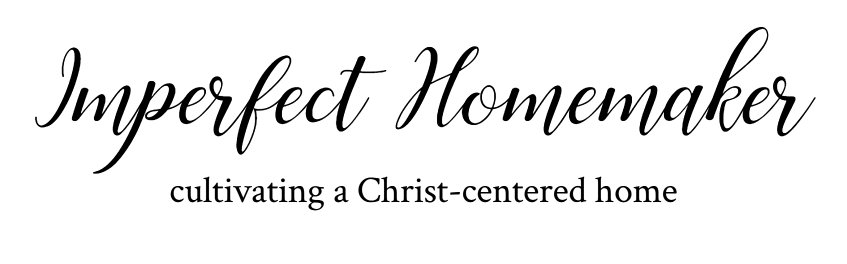
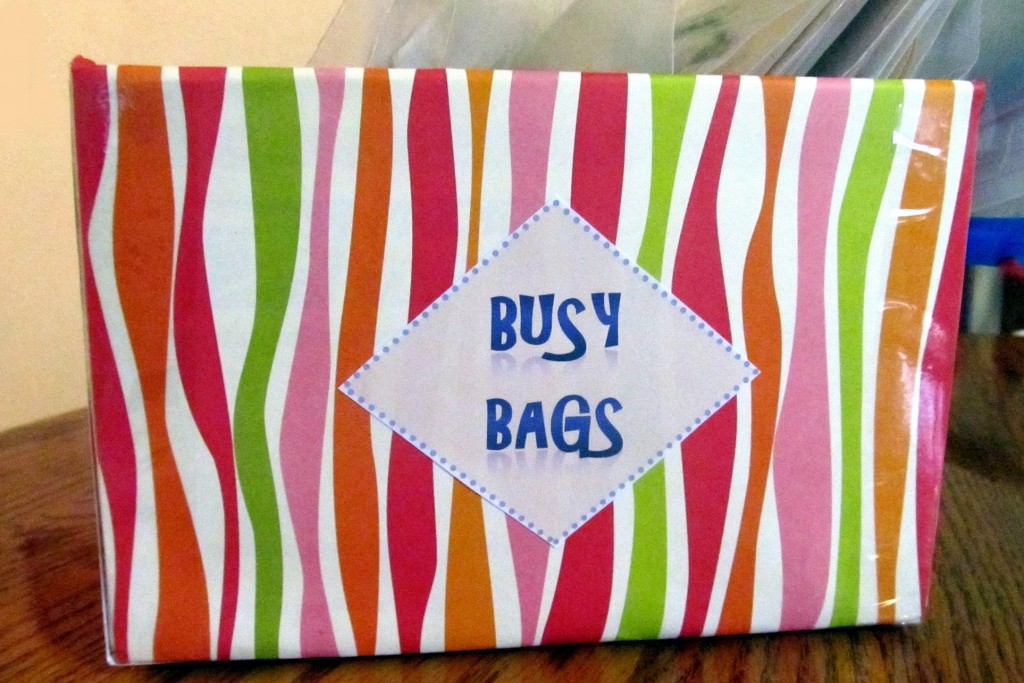
Basically, I used boxes of the same size and covered only the front of the box with scrapbooking paper. I then made matching labels for each box so that I could quickly know the contents. The boxes stacked neatly and looked nice because they were all the same size. The decorative paper made them look pretty and match the room decor. Since only the front of the box could be seen when they were stacked on the shelf, covering just one side of the box in pretty paper was quick, easy, and economical.
I used some boxes that were leftover from a home internet business. However, I have seen boxes for 50 cents or $1 at Lowes or Wal-Mart.
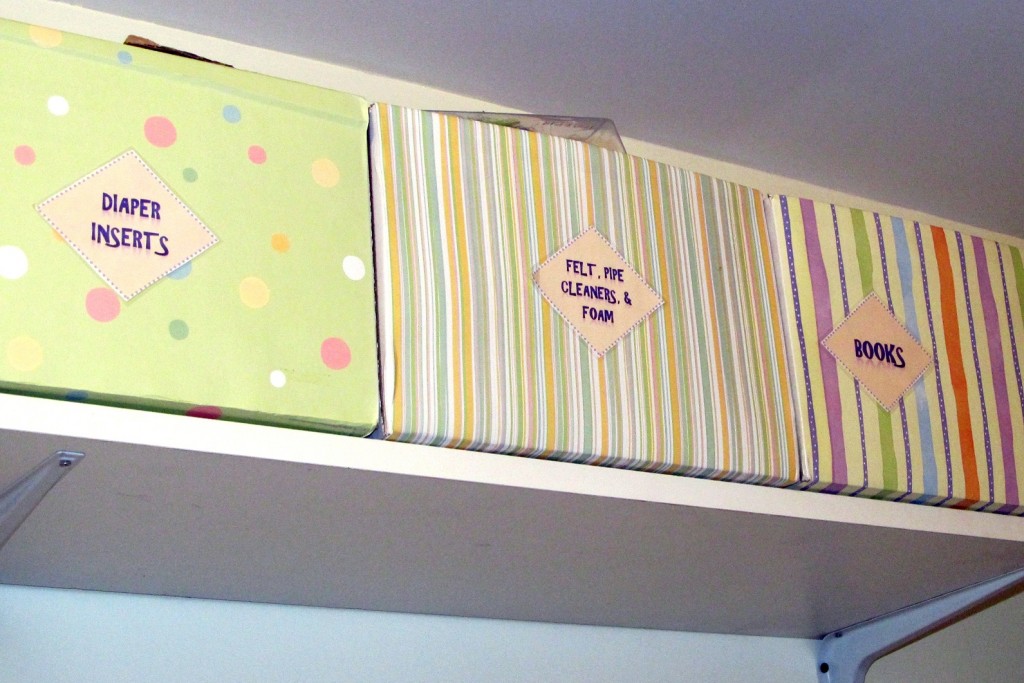
Here are the supplies you will need:
- Scrapbooking/decorative paper. You can wait for a sale or use a coupon to get these for 10-25 cents per sheet. As a paper crafter, I had a lot on hand already. The 12×12 size would be best.
- Adhesive – I used scrapbooking adhesive, but you could also use hot glue or just packaging tape
- Ruler
- Paper cutter
Instructions:
Using the ruler measure the width of your box. Cut your scrapbooking paper to the width of the box using the paper cutter. Now place the paper on the box, and fold the excess paper to overlap the flap of the box on the top, and the bottom of the box. Remove your paper and add adhesive near the fold lines and all of the edges. Place the paper back on the box, folding the ends around the box, and adhere. I sometimes add some clear tape to the edges of the box if I am planning to use it frequently. This keeps the paper edges from getting ruffled. Depending on the strength of your adhesive, you may want to tape the ends of the paper on the box flap and box bottom to ensure they stay in place.
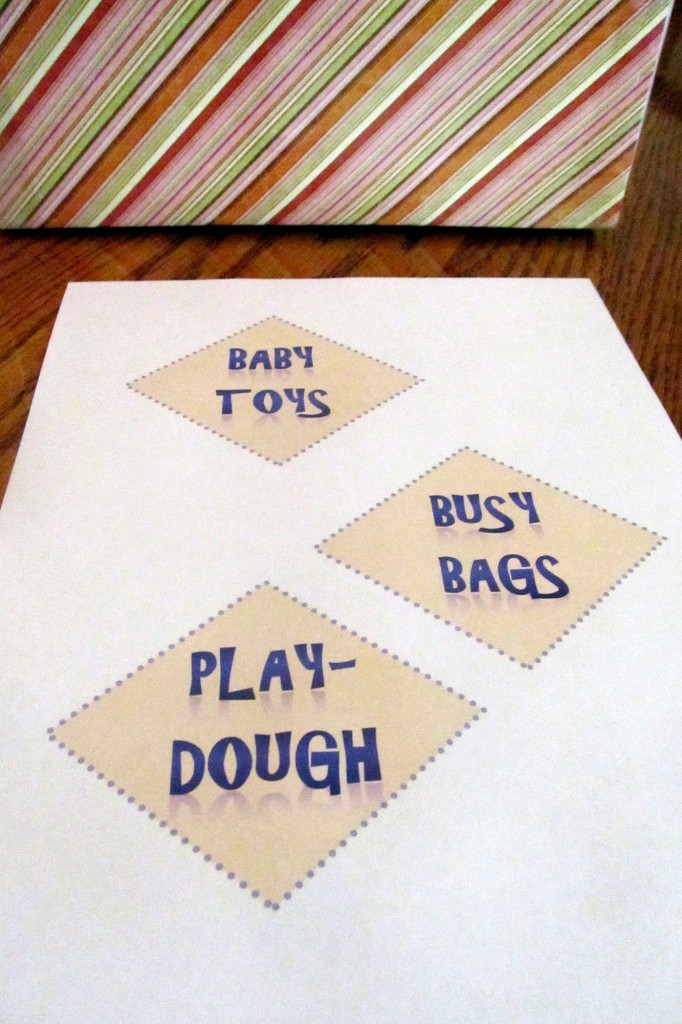
I create custom labels using this tutorial from IHeartOrganizing. I use Microsoft Word as opposed to Excel. It’s very easy to create a shape, customize the color & border, and add some word art. After printing you can laminate the label for added durability.
That’s it! You have just created visually appealing storage boxes for $1-$1.25 each (or less), as opposed to $3-5 each for plastic bins, or even more for fabric storage bins.