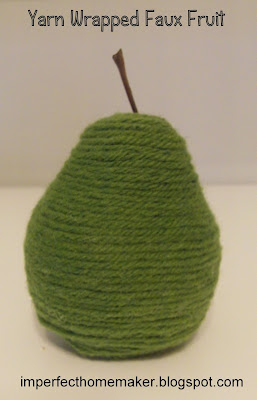
Yarn Wrapped Faux Fruit {Tutorial}
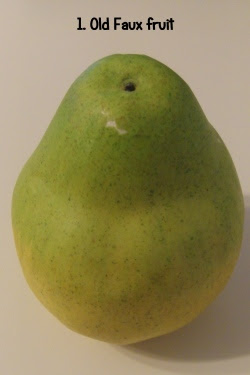
I was getting ready to throw away some old faux pears that I had since they had been treated roughly and beaten up by the kids. The stems were missing and there were some nicks and dings in them, but it hurts me so much to throw something away. I decided to figure out a way to make them lovely again. This ended up being so easy!
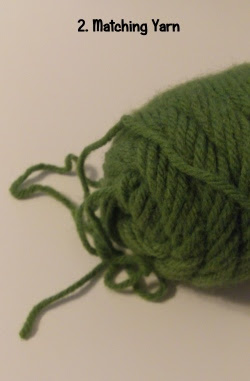
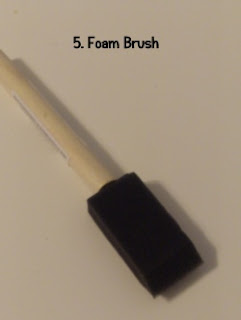
You could do this with any type of faux fruit; just use the right color of yarn and follow these instructions. I'm thinking this would look great with pumpkins in the fall!
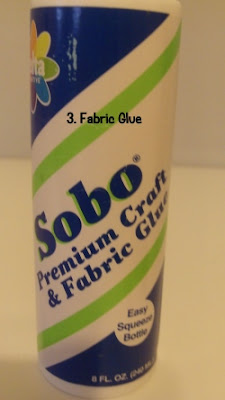
Supplies needed:
Instructions:
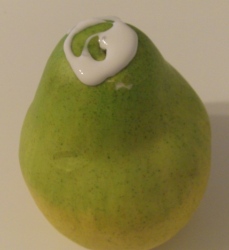
1. Squirt some glue onto the top of the fruit.
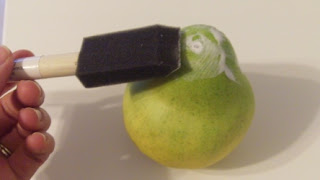
2. Use your foam brush to spread it around. Do not spread too thinly or too far down because it will dry quickly, and the yarn will not stick once it's dry. If the yarn is not sticking, you need more glue. Don't be afraid to add more than you think you need because it will dry clear and won't show up on your finished product.
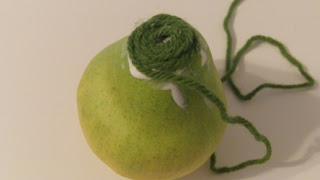
3. Starting at the very top, wrap the yarn in a spiral shape on top of the glue. Once you've covered all the glue, add some more, spread it with your brush, and continue wrapping. Keep wrapping until the entire piece of fruit is covered.
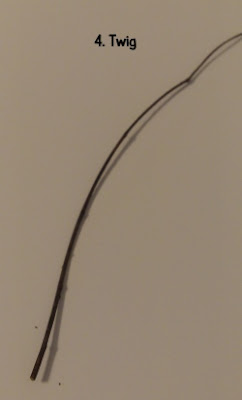
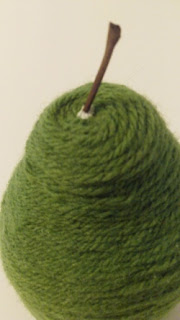
4. When the fruit is fully covered in yarn, cut your twig to the desired size, and attach to the top with a nice dollop of fabric glue. Remember, don't worry – it will dry clear.
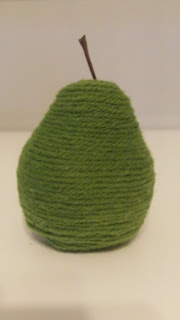
5. You are done! Enjoy this amazingly simple creation!
This post may be linked to one of these parties.

