Travel Tips for Toddlers
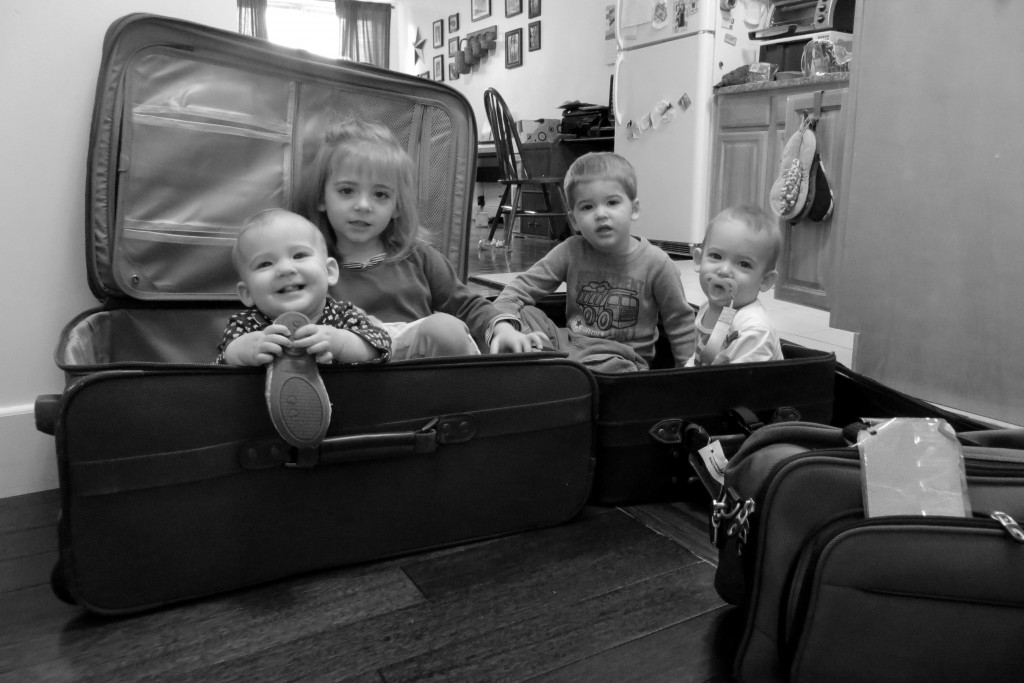
Last year I would have told you I am no expert on traveling with little ones. I would still say that I am not an expert, but being a missionary on deputation has afforded me lots of practice! We are gone every weekend and many weeks in between. Next year we will be gone for several months at a time.
When we began this journey I asked several missionary friends for suggestions. Many of their tips have been lifesavers as we travel the country with four little people. Some areas are still being tweaked to find out what works best. These are a few of my tips for traveling with toddlers…
1. Keep Your Routine – even when away from home. I know that it is not always possible, but stick to what is “normal” as much as possible. Observe the same nap times. Eat the same foods. Keep the same bedtime routine.
2. Bring Favorite Items. There are enough “strange” things on any trip – a different bed, a new house or hotel room, and possibly a different climate. Try to keep some things the same. Liberty is attached to her blanket. We bring it on every trip. Elaine and Nolan are older and have lots of favorite “friends”, so they have to select one friend to bring in the car. We also bring a couple of family favorites for bedtime stories. This gives the kids something familiar in an unfamiliar environment.
3. Switch Things Up. We have several different entertainment items to keep the kids happy in the car. But we try to keep them varied so that the kids don’t get bored of any one thing. We use a DVD player, books on CD, reading chapter books aloud (I love my Kindle because it takes up so little space), independent playtime (with items from their backpack), family games such as “I Spy”, Bible stories from Daddy, singing, and nap time. We do one thing for a little while, and then move on to another. During nap time they can't hold any toys and they have to close their eyes and stop speaking. They almost always fall asleep.
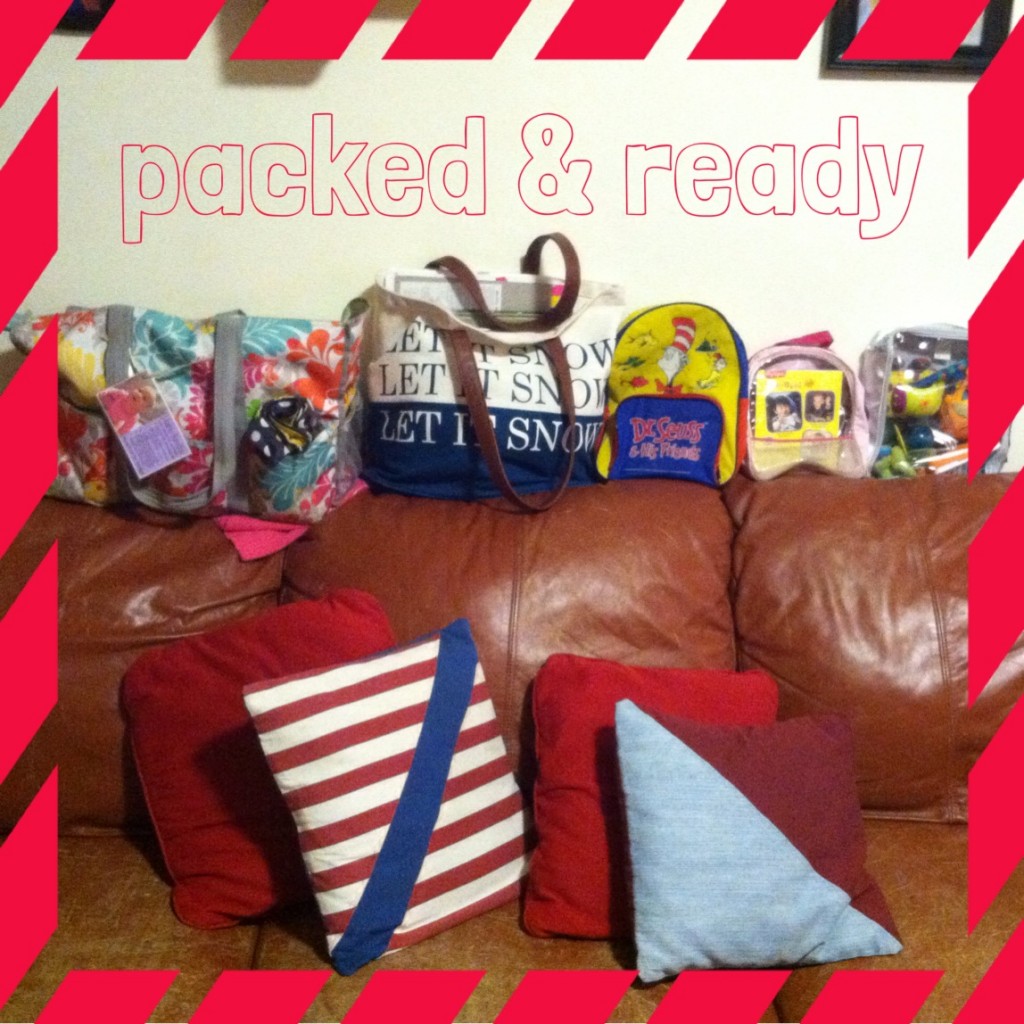
My bigger kids are allowed to pack their own little backpacks, but I limit the number of toys. I usually let them have “five small toys”. They usually pick things like zoo animals, Little People, etc. and play make believe in their car seats. I have found that crayons/markers/stickers are not good in the car for little people. I spend most of my trip retrieving them from the floor. For drawing, Magna Doodles work great!
4. Travel at Night. It may be helpful to travel at night when your little people will naturally sleep. You don't have to plan as many stops, so the traveling goes faster. We have done it several times for very long trips. It is hard on Mom & Dad the next day, though!
5. Stop frequently. We stop about every three hours, and usually for an hour. By the time we change diapers, take a potty break, eat lunch, and let the kids run off the wiggles, it is usually an hour. But then the kids are much more content to get back into the car. We have found it very helpful to pack a lunch and stop at a park, playground, or rest stop to eat. This gives us fresh air and more room for the kids to run around, and it’s much easier on our wallet!
Packing Tips:
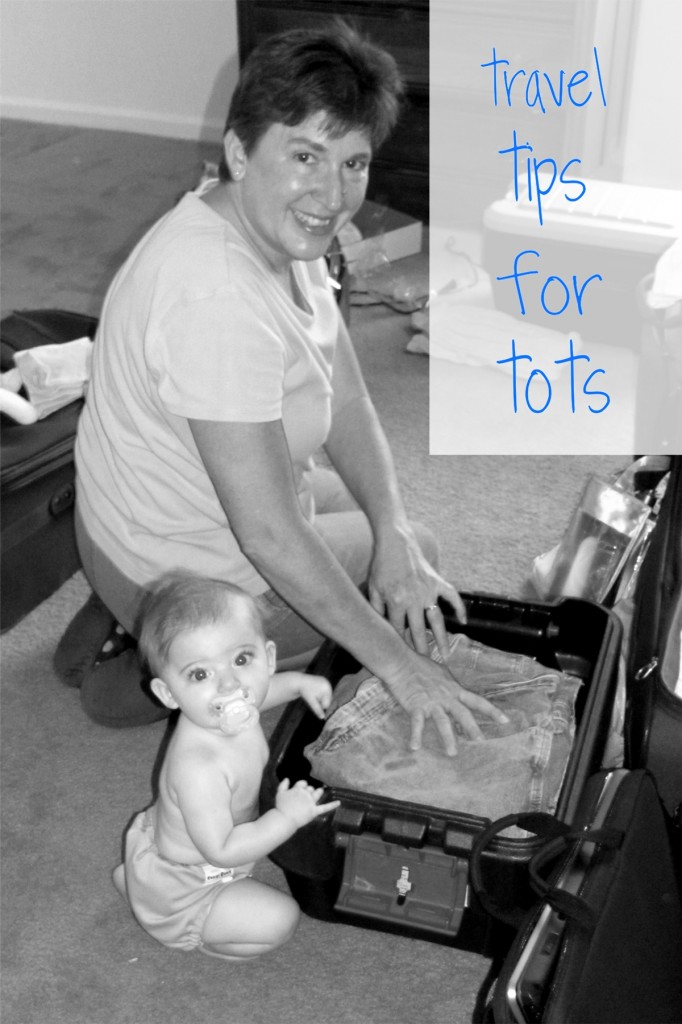
1. Pack Light. Almost everywhere we go there is a washing machine. I usually pack three days of clothes, and then wash. This means less stuff to load and unload into the car, and it is also less items to keep track of at the home/hotel where we are staying. For a family of six we can travel with only two suitcases, a bag of shoes, and a family toiletry bag. It means less to get ready, too. I can have us all packed in about two hours or less!
2. Prepare for Accidents. We have two kiddos in diapers, and one potty training. I keep an extra outfit and socks in the diaper bag for these kids. That way if there is an accident on the road, we don’t have to unload the whole suitcase.
3. Stay Organized. I bring along a laundry bag to set up in our destination home. This keeps the suitcase organized. I pack the “little” stuff for each person in a Ziploc bag with their name on it. All undies, socks, ties, belts, hair bows, etc. go into that person's bag to stay organized. I bring a mesh laundry bag to put dirty socks into, so that they are not lost in the dirty laundry. When you’re only packing for three days, it’s hard to lose a pair of socks!
4. Pack a Community Bag. Since there are six in our family, we have found a “community bag” to be helpful. All of our shoes go into one bag. This keeps dirt out of the suitcases and makes it easy to keep track of everyone’s shoes. We also have a family toiletry bag. All toiletry items for the whole family go into one bag, and then there is only one bag in the destination bathroom, instead of six individual bags. This makes it easier to be sure we have everything packed, too. I can easily glance through the toiletry bag to know we have all the necessary items, and my husband knows he only has to worry about loading one bag into the van.
Do you travel often? What do you do to make it fun instead of stressful?
Frugal Role-Play with Preschoolers
Guest post from Imperfect Homemaker contributor, Andrea.
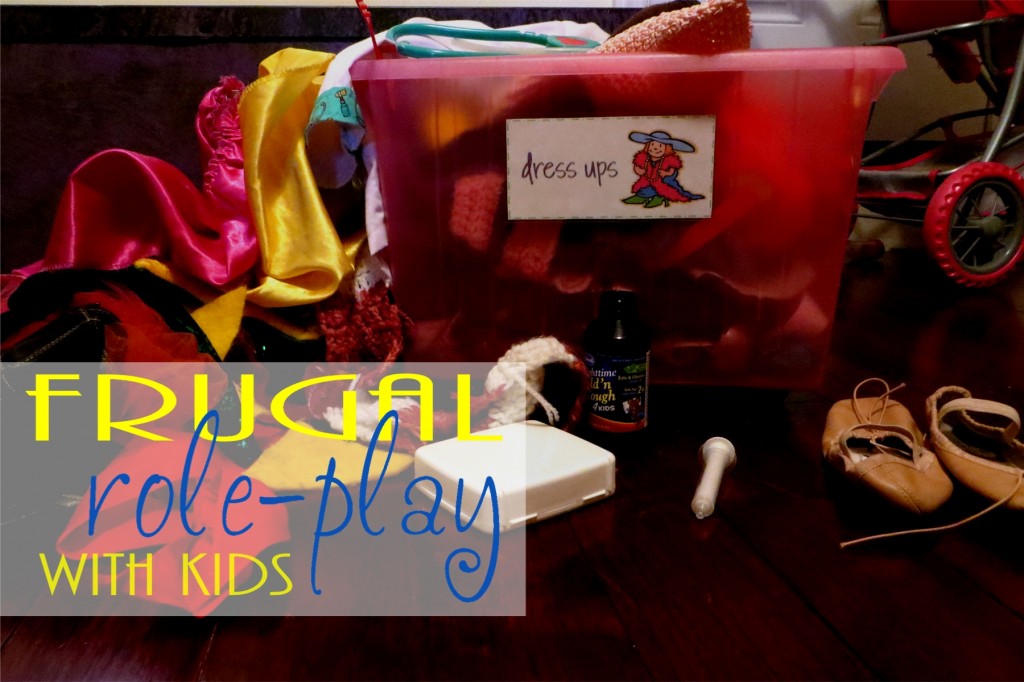
I don’t know about your kids, but my kids absolutely love to play dress-up. We have more toy bins dedicated to dress-up and role playing than any other type of toy. When I walk into my kids’ room, the floor is nearly always strewn with hats, scarves, coats, dresses, and accessories. My kids may love dressing up, but my wallet doesn’t like the cost of buying dress-up outfits at the toy store. I always get sticker shock, and then am disappointed in the quality of the items. So we have found other ways to feed their role-playing habits.
I was especially inspired to make my own dress-up items after visiting the children’s museum in Fayetteville, NC on a recent trip. The kids move from room to room and get to play farmer, supermarket, ambulance, ER, dentist, post office, banker, army man, TV weather forecaster, and more. Most of the items were “real” items from that profession, and my kids had a blast. They were willing to forfeit lunch in order to stay and play longer!
Here are some ideas for frugal role-play and dress-up:
—Use “real” clothing that is larger in size. When we get hand-me-downs, I throw some of the scarves, hats, frilly skirts, and dressy shoes into the dress-up bin. The kids love it. They are creative and turn scarves into ropes when they are braving a hurricane from the safety of the bunk-bed. Purses become shopping bags when they “walk” to the store with their doggies. They love playing with “real” items.
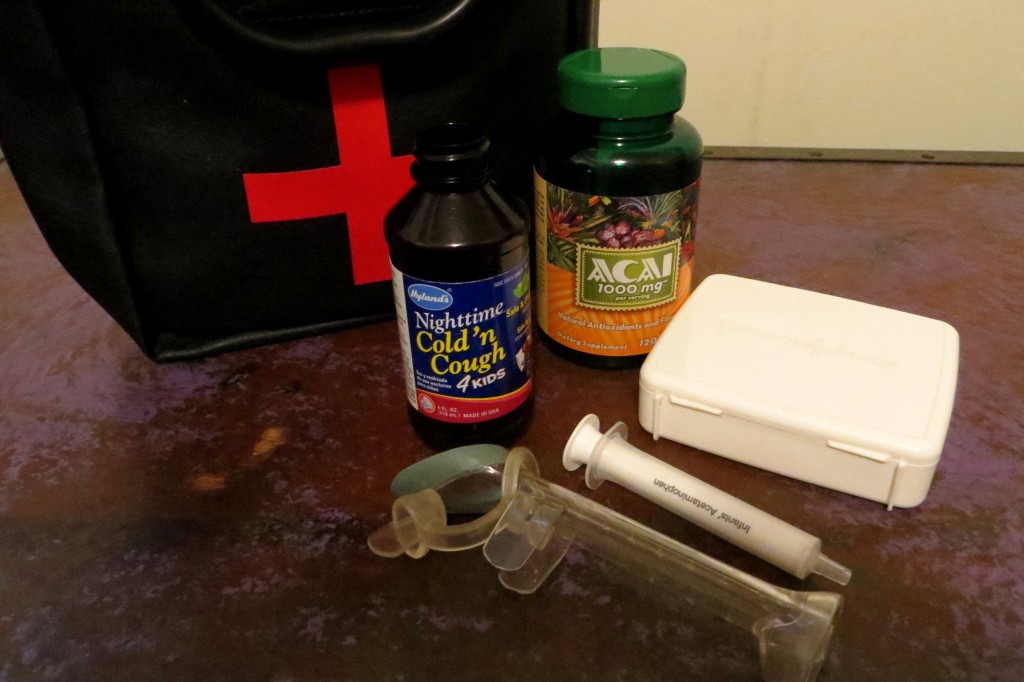
—Save household and kitchen items. When we empty an egg carton I give it to the kids to play with. After a few days it has usually been stepped on and smooshed a hundred times, so we toss it out. There will always be another one coming! I rinse out vitamin bottles and save Band-Aid boxes for doctor play. We have a plastic Starbucks coffee cup and old measuring cups for our “kitchen”. Dead cell phones go in the toy drawer, and all of my kids love to walk around talking on a “real” phone. (My husband wears out his phones quickly!) When I am ready to pass on a scarf or necklace, I usually take it to the dress-up box instead of Good Will.
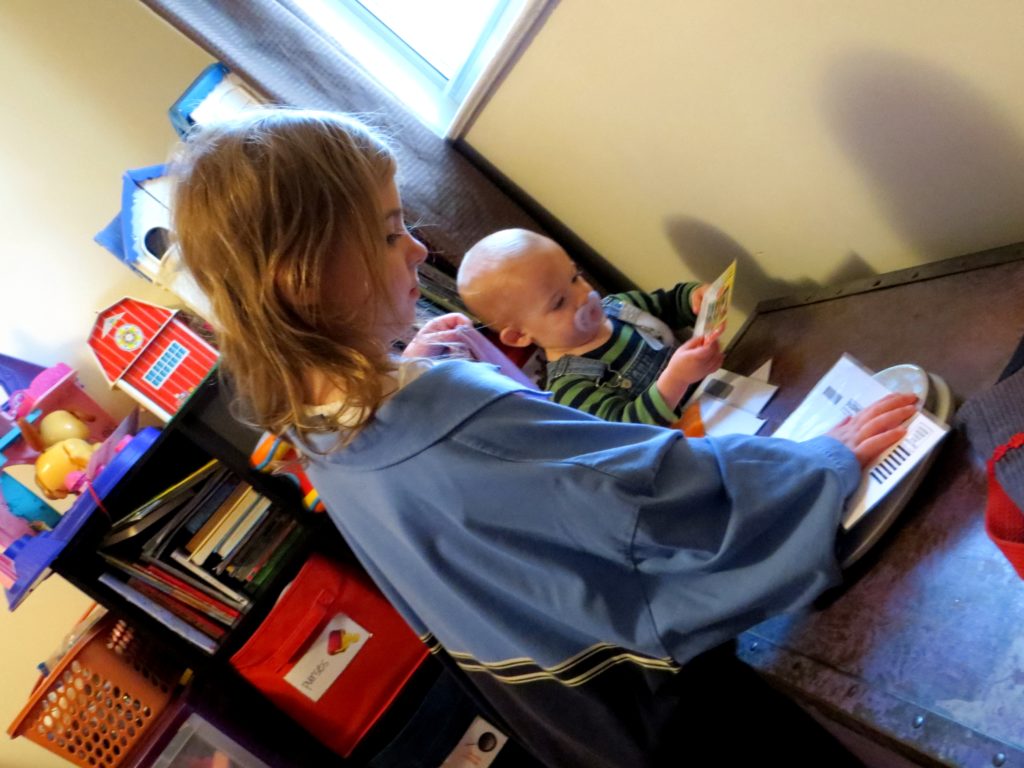
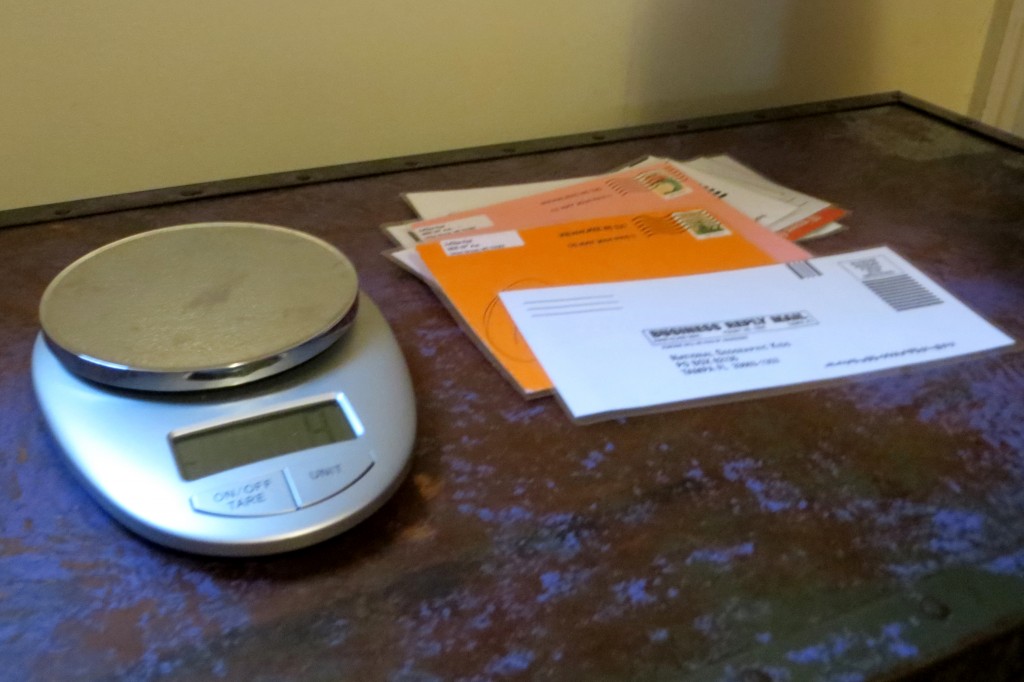
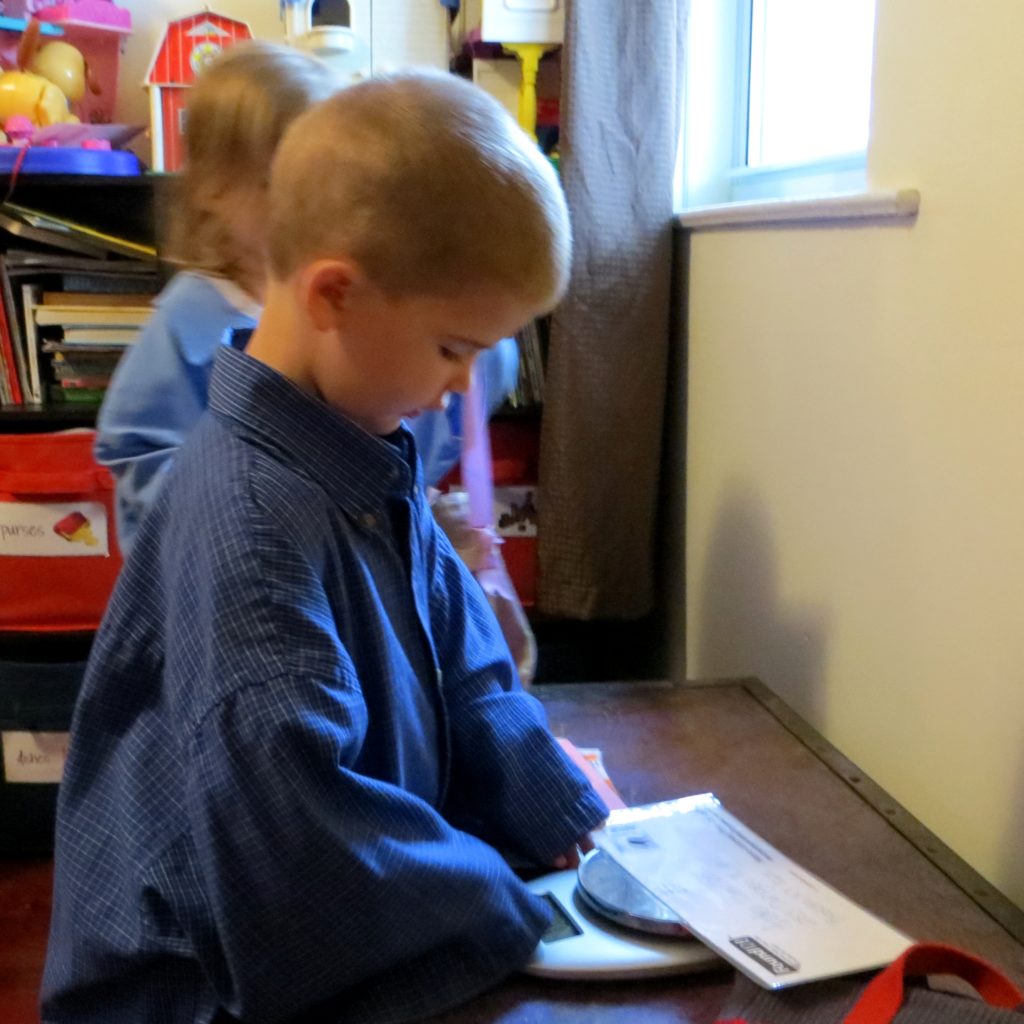
–-Make your own. At the children’s museum, in the play Post Office, my kids loved sorting mail and handing out packages. So I saved envelopes from the mail for about a week, laminated them, taped up a couple of small boxes, and turned an old wipes box into a mail box. Put on a blue shirt from Daddy’s closet, and voilà! Instant Post Office. We play with it for a few days and then pack it away for a few days to keep things new and exciting.
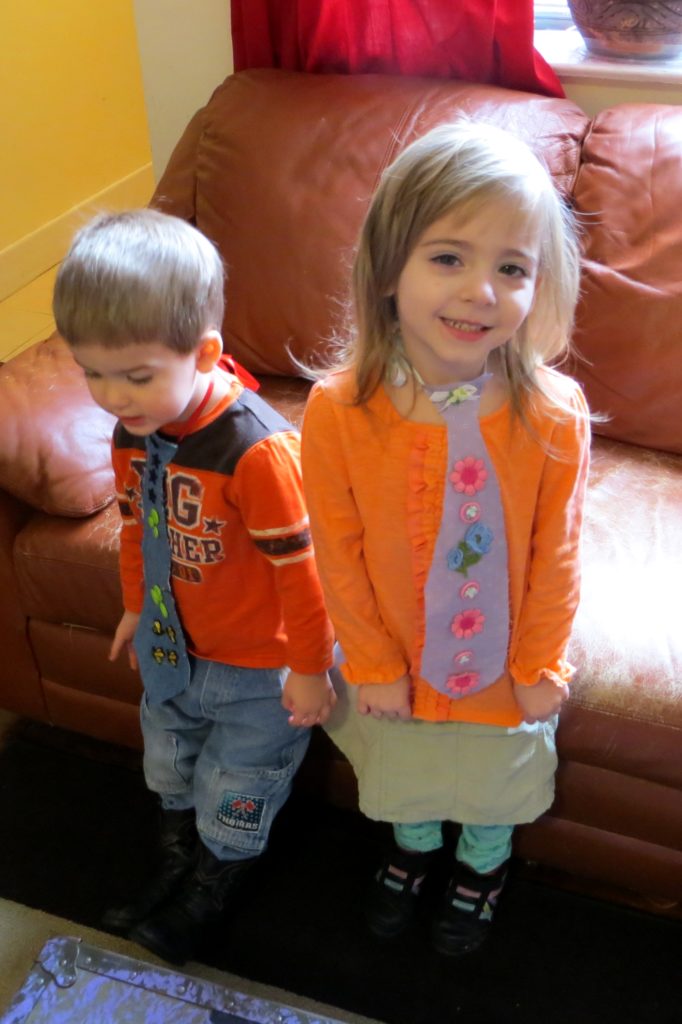
—An old box can become anything you can imagine. My kids love to pretend it’s a boat. We usually keep the boxes from our diaper shipment around the house for a few days. Turn the box upside down and glue on some red construction paper circles for a stove. Cut a hole for a mailbox. Make a baby cradle. The possibilities are endless (and free!). Two liter bottles become a jet pack. A towel and clothespin becomes a super hero cape. An empty toilet paper tube or paper towel tube can become binoculars or a pirate spyglass. We cut necktie shapes out of fabric scraps and added a ribbon for instant dress-up.
—Play store by setting out some toys on the coffee table. Print out some paper money and give them a purse. One child gets to be the shop keeper and one child can be the customer. We use my daughter's baby stroller to be the shopping cart. I love spending $5 and getting $20 in change! (We will work on math skills in Kindergarten this year 🙂
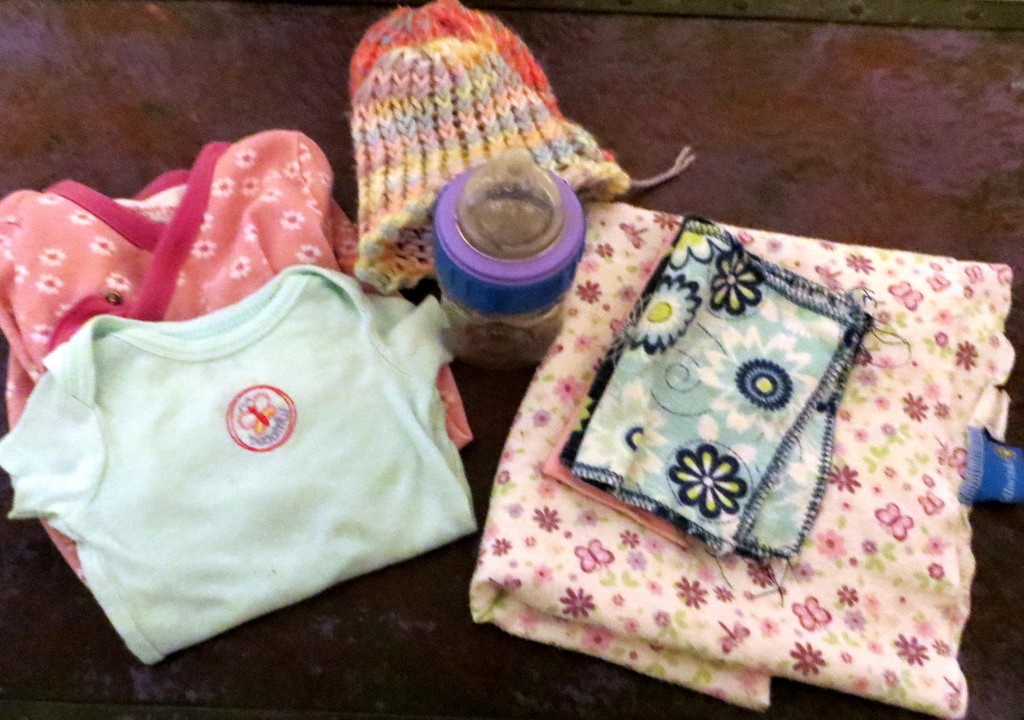
—My daughter loves to play Mommy, Little Girl, and Baby. She usually gets to be the Mommy and my husband or I is the little girl. I gave her a couple of real baby bottles, some newborn size onesies, cloth wipes from my diaper stash, and an old receiving blanket. She uses the tray from one of the twins’ highchair, and we set up a little meal, change some diapers, put the baby to sleep, and have a good time. No expensive baby doll accessories needed!
–If there is a particular role-playing adventure that you would like to have with your child, you can scour garage sales and thrift stores for needed items. You could find army items like canteens and binoculars. Old hats, gloves, purses, etc. can usually be purchased very inexpensively. I recently found some tiny tin muffin trays at a garage sale for 25 cents. Perfect addition to the kitchen set!
If you really need some inspiration, Pinterest offers just about every DIY imaginable! I have a Pinterest idea board with some frugal options, as well as ideas that may take a little more time or money. They make great gifts! Now get off the computer and go have some role-playing fun!
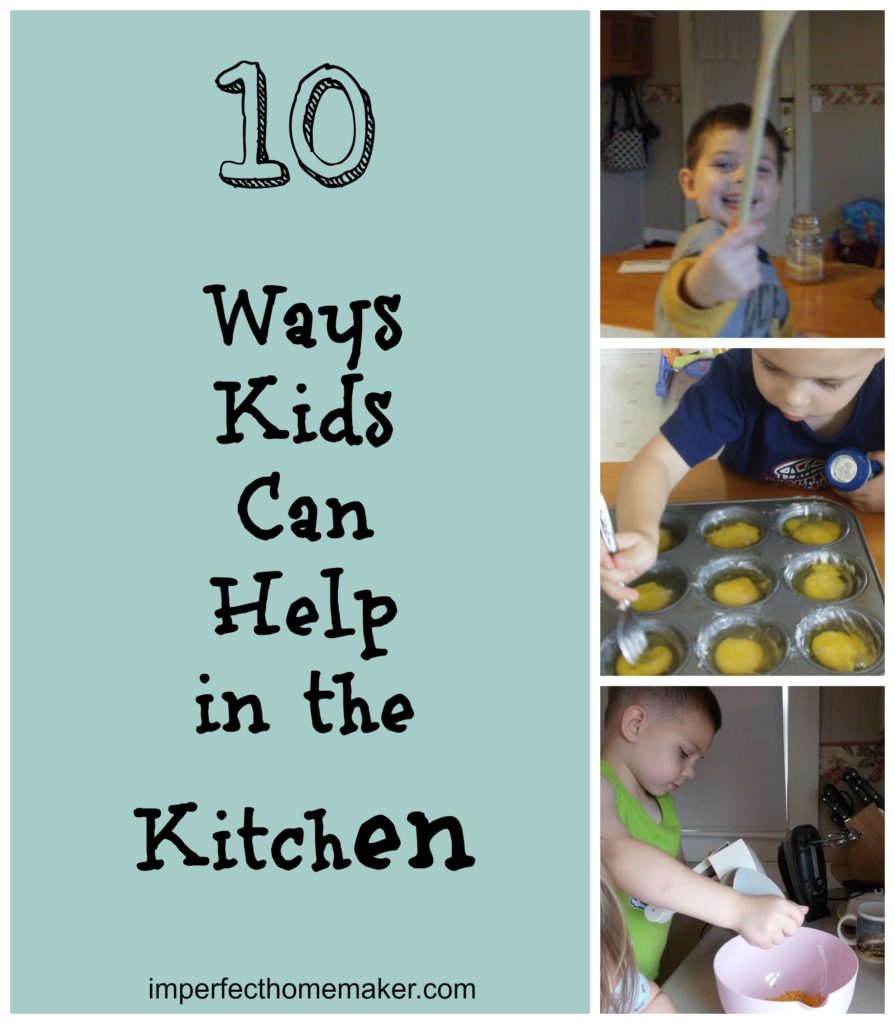
10 Ways Kids Can Help in the Kitchen
My children are always begging to help me in the kitchen, but sometimes I have a hard time thinking of things they could do. I did a little brainstorming and compiled a list of 10 ways kids can help in the kitchen. These are things that children as young as age 2 can do.
1.Dump ingredients into a bowl. You measure it and then allow them to dump it into the bowl.
2. Stir. Since they will probably not stir it as well as it needs to be done, you can tell them that you will start and they can finish.
3. Put toppings on pizza. Lay out the toppings and let them have fun spreading them on the pizza.
4. Put forks, napkins, and condiments on the table. Of course you're not going to let a very small child put the breakable dishes on the table, but they can set the forks and napkins around and help you put small items on the table like ketchup or salad dressing.
5. Sweep the floor. A child is not going to be able to get the floor completely swept, but they will feel like such a big boy or girl using the broom. It will probably keep them occupied for a while. You can also teach them how to hold the dustpan for you while you sweep the dirt into it.
6. Tear up salad greens. If salad is on the menu, you can keep children occupied tearing the lettuce. They may even do a better job at it than you!
7. Wash dishes. Give them a chair, a sink full of soapy water, and some unbreakable dishes, and let them have at it! They may end up a little bit wet, and you will most likely have to re-do the dishes, but they will have fun! They will also be developing the skills they need to wash them them right way when they get a little older.
8. Dry dishes. If you're not in the mood for a wet kitchen, you could wash and let them dry.
9. Chop Vegetables with an enclosed chopper. If you have a hand chopper that is enclosed, they could take a turn at chopping.
10. Help you unload the dishwasher. Kids as young as age 1 love to help unload the silverware from the dishwasher. They can hand you one piece of silverware at a time while you put them away.
Children will probably not do everything perfectly in the kitchen, and you may get frustrated when they use the spoon more often as a bat than as a stirring utensil. But when you allow them to help, they will develop skills that will allow them to really be a help in the future. You are also spending valuable time with them, and they will know by the time you spend how much you love them.
What did I miss? I'm sure there are more things that kids can do in the kitchen that I didn't think to put on this list. I'd love for you to leave a comment and give some more ideas!
For even more ideas and practical advice for getting kids involved in the kitchen, check out Adventures With Kids! In the Kitchen. It's normally $14.95, but when you buy it as part of the Ultimate Healthy Living Bundle, you'll get it plus another $1000 worth (yes, that's one thousand dollars) of resources for $29.97!
10 Healthy Snacks for Toddlers
This list of 10 Healthy Snacks for Toddlers was created for anyone looking for ideas of what to feed their toddler that is not a choking hazard and won't create a huge mess!
These snacks are truly healthy and nutrient dense (no Cheerios or Toddler Puffs here!), but still very quick and easy for mom to fix for the little ones.
I know my little guy likes to be independent, but I don't like the mess that he makes when he eats by himself! Here are some (relatively) mess-free foods that toddlers can eat by themselves. I also tried to make sure everything on this list is not a choking hazard. (Obviously, you still need to watch your children carefully when they eat!)
1. Cheese slices
2. Banana
5. Strawberry slices
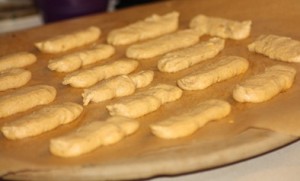
6. Soaked Banana Pumpkin Biscuits
7. Apples – peeled and diced
8. Rice cakes with peanut butter or almond butter
9. Hard boiled eggs
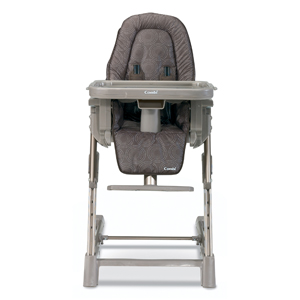
Did you see my little guy in his Combi high chair up in the top picture?
This is a fantastic high chair! Here are just a few of the features it has:
- 5-position height adjustment – make sure your child is at a comfortable level in proportion to your chair
- 3-position reclining adjustment – this is helpful for younger babies who may not do so well sitting all the way up at first
- 5-point harness – all my other kids were amazingly skilled at getting out of their buckles, but with a 5-point harness, I don't think that will be possible!
- the tray has a removable insert that can be snapped off and put into the dishwasher – quick cleanup!
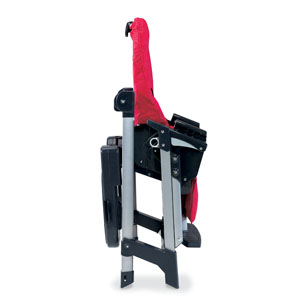
- compact folding for storage – perfect for our little bitty house!
I also loved the color we received (bronze) as it matched our kitchen perfectly. If you need a high chair for your busy toddler this is one I recommend! Click here to see it on Amazon.
What other healthy snacks for toddlers would you add to this list?
50 Fun and Free Summer Activities for Kids
Summer is here! It's great for a few days…until you hear the inevitable “I'm booored!”
This free 20 page eBook will give you 50 ideas for things to keep your kids occupied this summer – and they're all free!
To get your eBook, simply enter your name and email address below. The eBook will be delivered to your inbox – check your spam folder if you don't see it.
*By signing up to receive this eBook, you will also be signing up for the Kids Activities segment of my newsletter, where I will send very infrequent but always exciting stuff for your kids!*
[wp_eStore_free_download_squeeze_form id=12]

