Travel Tips for Toddlers
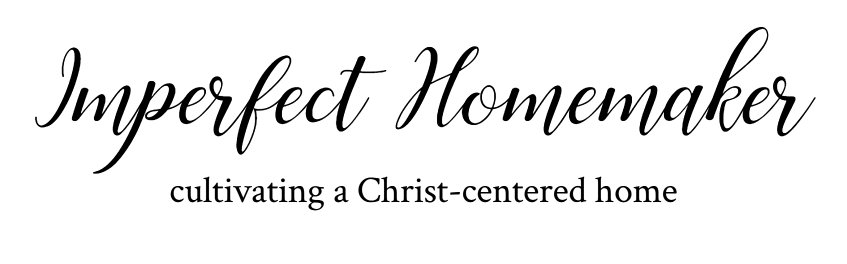
Last year I would have told you I am no expert on traveling with little ones. I would still say that I am not an expert, but being a missionary on deputation has afforded me lots of practice! We are gone every weekend and many weeks in between. Next year we will be gone for several months at a time.
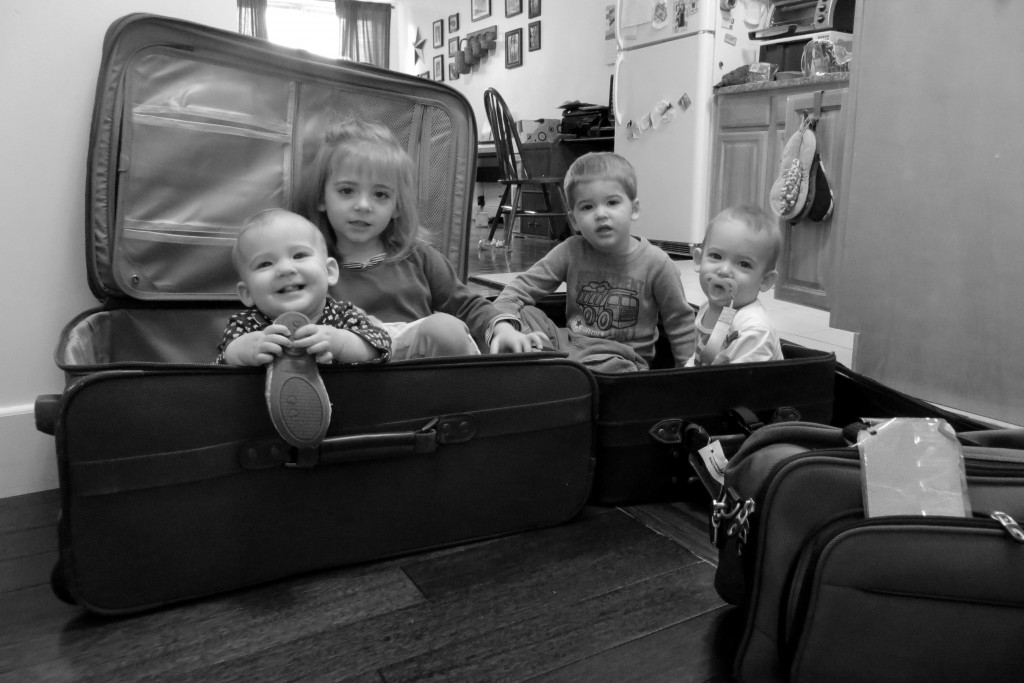
When we began this journey I asked several missionary friends for suggestions. Many of their tips have been lifesavers as we travel the country with four little people. Some areas are still being tweaked to find out what works best. These are a few of my tips for traveling with toddlers…
1. Keep Your Routine – even when away from home. I know that it is not always possible, but stick to what is “normal” as much as possible. Observe the same nap times. Eat the same foods. Keep the same bedtime routine.
2. Bring Favorite Items. There are enough “strange” things on any trip – a different bed, a new house or hotel room, and possibly a different climate. Try to keep some things the same. Liberty is attached to her blanket. We bring it on every trip. Elaine and Nolan are older and have lots of favorite “friends”, so they have to select one friend to bring in the car. We also bring a couple of family favorites for bedtime stories. This gives the kids something familiar in an unfamiliar environment.
3. Switch Things Up. We have several different entertainment items to keep the kids happy in the car. But we try to keep them varied so that the kids don’t get bored of any one thing. We use a DVD player, books on CD, reading chapter books aloud (I love my Kindle because it takes up so little space), independent playtime (with items from their backpack), family games such as “I Spy”, Bible stories from Daddy, singing, and nap time. We do one thing for a little while, and then move on to another. During nap time they can't hold any toys and they have to close their eyes and stop speaking. They almost always fall asleep.
My bigger kids are allowed to pack their own little backpacks, but I limit the number of toys. I usually let them have “five small toys”. They usually pick things like zoo animals, Little People, etc. and play make believe in their car seats. I have found that crayons/markers/stickers are not good in the car for little people. I spend most of my trip retrieving them from the floor. For drawing, Magna Doodles work great!
4. Travel at Night. It may be helpful to travel at night when your little people will naturally sleep. You don't have to plan as many stops, so the traveling goes faster. We have done it several times for very long trips. It is hard on Mom & Dad the next day, though!
5. Stop frequently. We stop about every three hours, and usually for an hour. By the time we change diapers, take a potty break, eat lunch, and let the kids run off the wiggles, it is usually an hour. But then the kids are much more content to get back into the car. We have found it very helpful to pack a lunch and stop at a park, playground, or rest stop to eat. This gives us fresh air and more room for the kids to run around, and it’s much easier on our wallet!
Packing Tips:
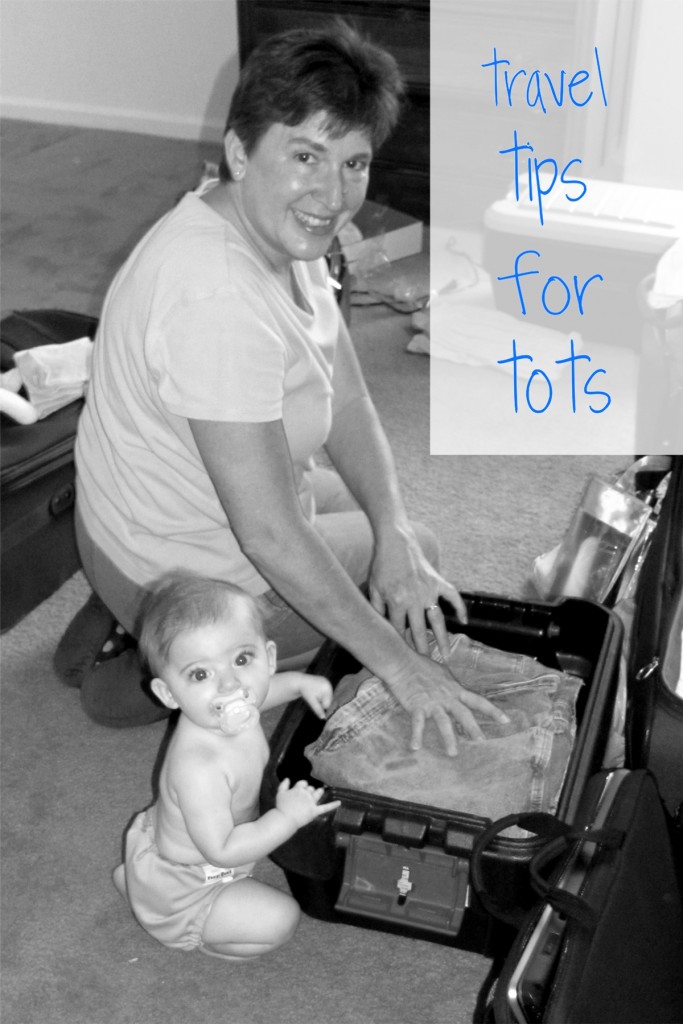
1. Pack Light. Almost everywhere we go there is a washing machine. I usually pack three days of clothes, and then wash. This means less stuff to load and unload into the car, and it is also less items to keep track of at the home/hotel where we are staying. For a family of six we can travel with only two suitcases, a bag of shoes, and a family toiletry bag. It means less to get ready, too. I can have us all packed in about two hours or less!
2. Prepare for Accidents. We have two kiddos in diapers, and one potty training. I keep an extra outfit and socks in the diaper bag for these kids. That way if there is an accident on the road, we don’t have to unload the whole suitcase.
3. Stay Organized. I bring along a laundry bag to set up in our destination home. This keeps the suitcase organized. I pack the “little” stuff for each person in a Ziploc bag with their name on it. All undies, socks, ties, belts, hair bows, etc. go into that person's bag to stay organized. I bring a mesh laundry bag to put dirty socks into, so that they are not lost in the dirty laundry. When you’re only packing for three days, it’s hard to lose a pair of socks!
4. Pack a Community Bag. Since there are six in our family, we have found a “community bag” to be helpful. All of our shoes go into one bag. This keeps dirt out of the suitcases and makes it easy to keep track of everyone’s shoes. We also have a family toiletry bag. All toiletry items for the whole family go into one bag, and then there is only one bag in the destination bathroom, instead of six individual bags. This makes it easier to be sure we have everything packed, too. I can easily glance through the toiletry bag to know we have all the necessary items, and my husband knows he only has to worry about loading one bag into the van.
Do you travel often? What do you do to make it fun instead of stressful?
Pretty Frosted Glass Door
Our house is quite old, and there are a whole lot of things about it that are definitely less than perfect. But we are so thankful for it, and we're doing the best that we have with what we've got.
Our driveway is laid out in such a way that pretty much forces everybody to come to the back door. Before you get to the kitchen door you have to go through a glass door into the laundry room. If I know somebody is coming, I will of course have the laundry room cleaned up a little bit, but when I'm just going through my daily routine, there may be piles of laundry out there, the floor may be dirty, etc. If the mail carrier or UPS driver comes up to leave something on the porch, they get a full view of the inside of my laundry room, regardless of what it may look like at the time.

And if I happen to be out there doing laundry when somebody unexpected comes to the door, I may not exactly feel like being seen, depending on my appearance at the time.

We used to keep a curtain on the door, but once we had kids, that made things look even worse than they already did. They would pull it off of the door, and they got little baby snot stains all over it.
We wanted to put frosting paint on it to provide some privacy, but we didn't want the entire thing covered. We wanted to think of a way to create some sort of design on it, but we didn't want to create a huge, time-consuming project for ourselves. My mom suggested making a diamond pattern since that could be made with straight lines. That was a great idea, but I wanted to use really thin tape so that the un-frosted part would not be thick enough for people to easily see through the door. The only problem was that we couldn't find anything like that anywhere.
One day I was at an indoor yard sale that our town has (it's like a giant thrift store, but everything is just thrown on tables or in boxes and nothing is priced). I spotted this and I knew immediately that it was exactly what I was looking for. They charged me a whopping 33 cents for it!

I didn't even know what this stuff was, but my mom said it's for using with typewriters. Okay then, that's why I didn't know. I did a search, though, and you can still buy this stuff on Amazon. Now you know where to get it if you decide you want to do a door like mine! 🙂
Once I found that, we got to work right away procrastinated forever on designing our door.
We finally got to it this last weekend, and I am so glad it's done!
Here's how we did it:
First, we washed the door thoroughly, inside and out. We just used vinegar water. I'm not sure if a commercial cleaner might leave a residue that would interfere with the paint sticking.

We started our diamond design by making an “x” corner to corner on the door. We used our fingernails and really made sure the tape was secured tightly to the door. After we added each piece of tape, we numbered them so that we would know the order in which to take them off.

Then we measured 5 inches away from each line and placed another piece of tape top to bottom on the door.

We continued to measure 5 inches away from each line and place new lines diagonally top to bottom. We used a dry erase marker on the outside of the door to mark our 5 inch measurements. We made a mark at the top and bottom of where each piece of tape should go, then matched the tape up to the mark on the inside of the door. By matching up the marks at the top and bottom, we were able to keep our lines perfectly straight.

Here is the door after we finished taping off our design. It was getting dark – it took a lot longer than I thought it would.

Then we taped off the edges of the door and the door handle, and we covered any surrounding areas with newspaper. This picture was taken after the first coat of paint had already been sprayed, which is why it's kind of hazy. I was dealing with a dirty diaper at the time, and my poor husband did not realize that the laundry room windows could be opened. I really don't recommend spraying without the windows open!

This is what we were spraying on the door. I'm not sure if my husband sprayed two coats or three, but I do know that it took two entire cans of paint. (They don't sell this particular brand on Amazon, but this is the same thing. Buy it here.)

We let the paint dry for just a few minutes before we removed the tape. We didn't want to let it dry too much for fear it would crack when we pulled the tape. It was completely dark by the time we got done. You can see how nice it's going to be to be able to be in the laundry with the light on at night and not have people able to see straight inside our house!

Now the mailman can leave packages on our porch without getting a scary view of me in my PJ's!

It's really hard to get a good shot of it because of the glare. The lines came out perfect – no seeping of the paint anywhere even though it sort of looks that way in the pictures. I'm very happy to finally have some privacy in my laundry room, and I'm excited that it looks pretty as well!

Update: I just discovered this frosted glass film on Amazon! It seems like it might be easier to just stick the film on than to tape everything off and spray it. Plus you don't have to worry about the spray paint getting chipped off if you use an adhesive film.

Homemade Cheez-Its Recipe


It seemed like everything I could think of to make, though, was stuff that had sugar in it like muffins, granola bars (what good is a granola bar without chocolate chips in it? 🙂 ), and other things like that.
I wanted some type of crackery something to feed them, so I paid a visit to my good friend, Mr. Google.
This Homemade Cheez-Its recipe called my name, so I printed it off, and headed to the kitchen.
This was so easy, and what I love is the fact that I know exactly what I'm feeding my kids! Cheese, flour, butter, salt and water are the sole ingredients of this lovely recipe.
I know you're tired of hearing me ramble on, and are ready for me to just get on with it, right?
Here goes:
| Homemade Cheez-Its Recipe |
Ingredients
- 8 oz extra-sharp cheddar cheese, coarsely shredded
- ½ stick unsalted butter, at room temperature
- 1 t kosher salt
- 1 c flour
- 2 T ice water
Instructions
- Using a mixer with paddle attachment, mix Cheese, butter and salt until soft and combined.
- Add the flour and mix on low speed (the dough will be dry and pebbly).
- Slowly add the water and continue to mix as the dough forms a ball.
- Pat the dough into a disk, wrap tightly with plastic wrap, and refrigerate for at least an hour.
- Preheat the oven to 375˚F. Line two baking sheets with parchment paper or Silpats.
- Divide the dough into two pieces and roll each into a very thin (1/8 inch or less) 10 x 12-inch rectangle. Using a fluted pastry cutter, cut the rectangles into 1-inch squares, then transfer to the baking sheets. Use the tip of a chopstick to punch a hole into the center of each square.
- Bake for 15-17 minutes or until puffed and browning at the edges. Watch carefully, as the high fat content of the crackers makes it a fine line between golden delicious and burnt. Immediately move the crackers to racks to cool.
I used Cabot Seriously Sharp Cheddar Cheese for ours, and the whole family has been raving about them!
This recipe is definitely a keeper!
Recipe from ReadyMade.com
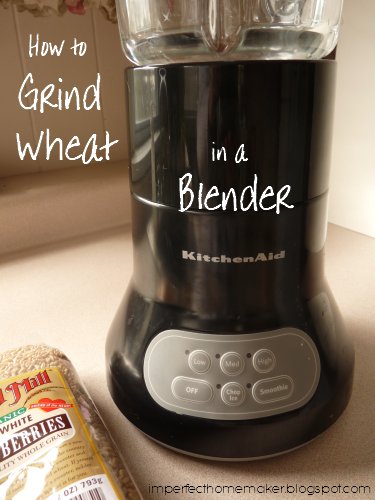
How to Grind Wheat in a Blender
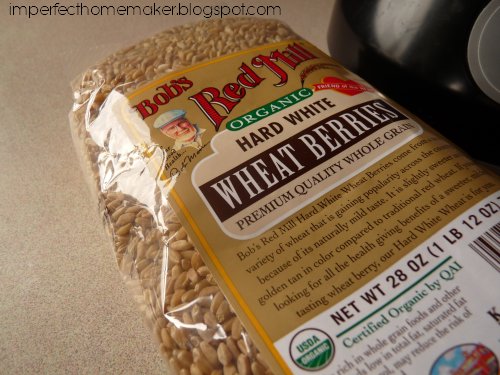
Step one: Get some wheat berries.
I used hard white wheat berries, but it shouldn't make much difference what kind you use.
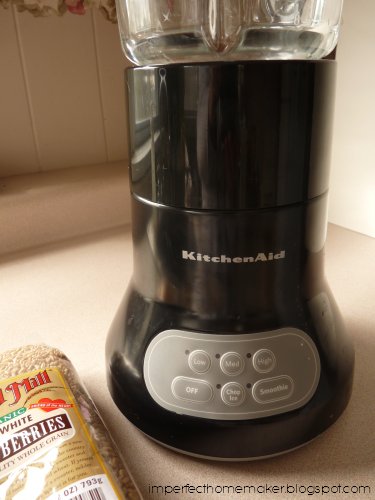
Step Two: Get your blender ready to go. Do not let the brand name of my blender fool you. KitchenAid mixers are definitely 10 steps ahead of any other mixer, but their blenders? Eh…not my favorite by any means. All that to say – even if you have a cheap blender, it will probably work just fine.
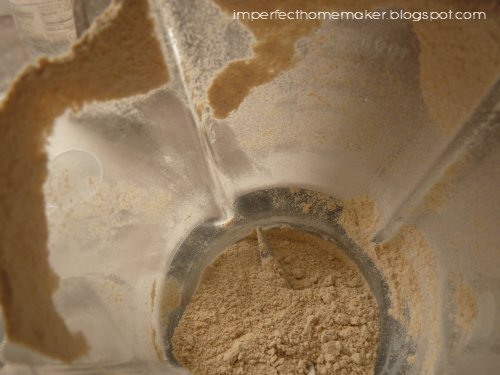
Step 3: Add the wheat berries and start grinding. I only ground about a cup at a time. The wheat berries jumped so high when I turned it on that I was afraid if I added any more the flour would start flying out the top of the blender.

Step four: I found that I needed to let it run on high for about 2 minutes. If I ground for less time it still had chunks. And if I ground for more time, it didn't seem to get any more fine, but the motor started heating up the flour.
Step five: Bake some bread or rolls using your favorite whole wheat bread recipe. I actually made some of both. My bread didn't turn out too pretty, but you get the idea.

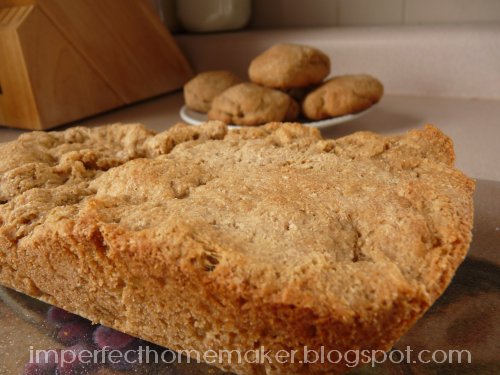
My conclusion: The blender definitely does not get the flour very fine. The dough feels very gritty when you're working with it. But as you can see from the pictures, it is still very useable. (How pretty your bread turns out just depends on how good of a cook you are – which I'm obviously not the greatest!)
Update: I tried making blender pancakes and was super happy with how they turned out! The wheat berries ground up even more nicely with the liquid added to the blender. Click here for the blender pancakes recipe.