Results of My Anti-Procrastination Year
Many of you have been following this blog long enough to know that 2012 was my year of Anti-Procastination.
It originally started out just to be something that would help me get little annoying things done around that house that always seemed to get put off.
And it did.
But it turned into so much more than that.
I learned a lot about myself.
I realized just how short this life is, and that the time to be busy about the Lord's work is now. I don't want to hang my head in shame when I meet the Lord and have to apologize for all the time I wasted.
One very huge life-goal that my husband and I saw come to fruition was the production of our first CD.
We realized that we could keep saying forever, “We really need to do that,” but that it would never actually happen unless we…you know…did it.
We knew it would be an expensive and time-consuming project, but it was a good thing we didn't know just how expensive and time-consuming it would be, or we might have continued to make excuses for putting it off.
Right away, I took the first step and booked an appointment with the recording studio so that there would be no backing out or changing our minds.
Then the real work began. I'll spare you all the details, but I will say this – if you want to do anything for God's glory, don't try to keep it a secret like we did. Both my husband's parents and mine have always bugged us to record a CD, and we thought it would be special if we could keep it a secret and give it to them as a Christmas gift. The problem was that as soon as we embarked on this project, the devil did everything he could to stop us. From scratchy voices the week of recording, to a broken down van when it was time for us to make the 1 hour trip to the studio, to lots of red tape with copyright permissions, there were a lot of obstacles to overcome. I wished people knew about our project so they cold help us pray about it!
Anyway, I'm so thankful it's finally done now!

We had only one goal in mind when we recorded this CD – to use our talents to bring glory to God. 100% of the proceeds will go directly toward expenses for our next recording.
We'd love for you to purchase our CD for yourself, give it away as a gift, and help us spread the word about another resource for Christ-honoring music.
We pray it will be a blessing to you!
15 Minute Tasks for the Week
If you’re just joining us this week, this program is set up so that you can jump in right where you are! You may want to subscribe to email updates or follow along on Facebook so you can keep up with each week’s new tasks.
This week we'll be working in the bathroom. If you only have one bathroom like me, this week will be a little easier for you. If you have two bathrooms, I've tried to make each day's task easy enough where it shouldn't take much more than the usual 15 minutes if you do both bathrooms.
Monday
Check the corners for cobwebs and knock them down. Dust and disinfect shelves and counters. Check out my non-toxic disinfectant recipe if you need one.
Tuesday
Take down the shower curtain and put it in the wash. You may want to wash the liner with bleach to get rid of mildew. Put rugs and any other linens in the wash as well. Climb inside the tub and spray down all the walls and shelves with cleaner. Use a scrub brush to scrub them, rinse well, and use a squeegee to knock off the water. Don't worry about the tub itself today; just the walls. Put the linens back up when they're dry.
Wednesday
Fill up the tub with bleach water and let it soak for a couple hours. Come back with a scrub brush and let all the water out. Scrub the tub, rinse well, and use a squeegee to get as much water off of the bottom of the tub as you can. (If you use a squeegee after every bath or shower, your tub will not get slimy nearly as often. You're constantly putting soap into the tub, so it should stay clean. It just needs to be rinsed well and stay dry.)
Thursday
Clean the mirror, sink, and toilet thoroughly. Empty the trash.
Friday
Scrub the door frame, door handle, light switches, cabinet knobs, etc with disinfectant. Gather bathroom cleaning supplies to keep somewhere in your bathroom – rags, disinfectant, toilet bowl cleaner, etc. From now on, you should keep them at arm's reach, and wipe down the sink and toilet every day. Your bathroom will stay spic and span all the time, and only need a deep cleaning every so often. This is what Flylady calls a swish and swipe.
Saturday
Sweep the floor and scrub it with disinfectant.
Be thinking of bathroom organizing ideas. (Check out my Organizing board on Pinterest!) That's what we'll be doing next week!
Did I leave out anything important? Please tell me how your house is coming along! I hope this is helping you get your house in shape!

Make Homemade Non-Toxic Disinfectant in 60 Seconds
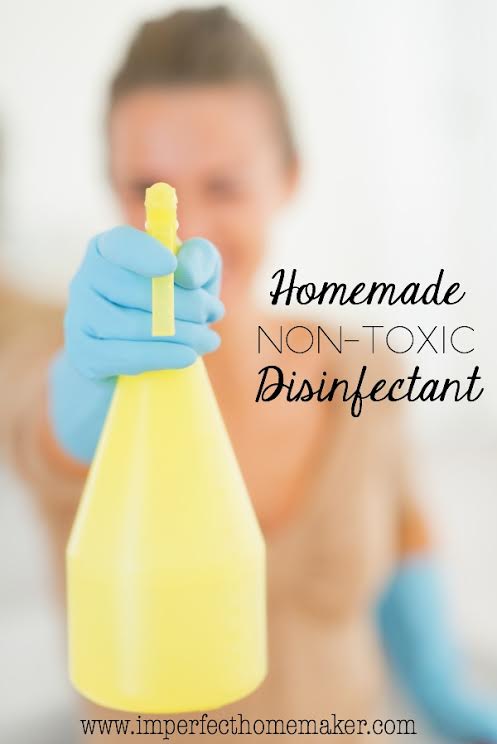
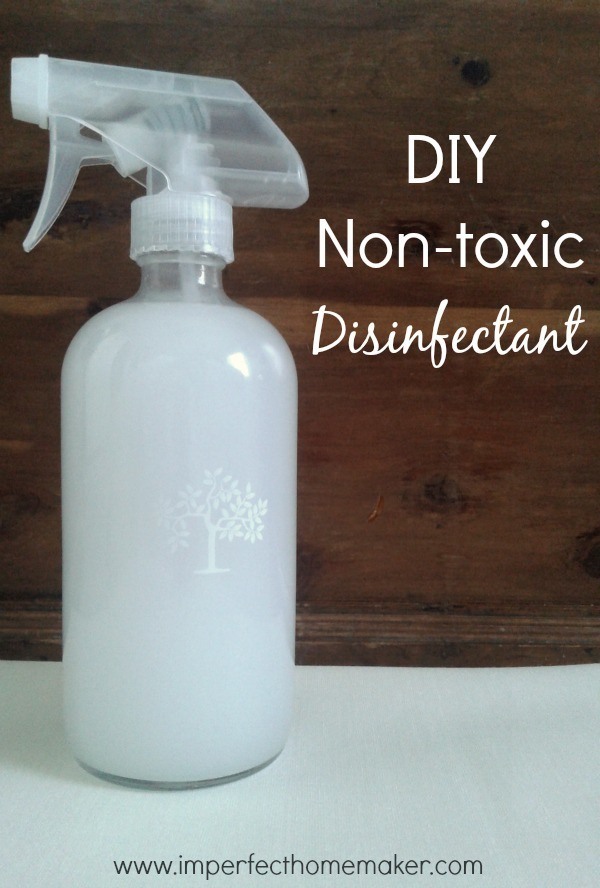
I had several people ask about my Non-toxic disinfectant recipe, so here it is:
16 oz. water
3 tbsp. liquid castile soap
30 drops tea tree oil
Mix together in a spray bottle.
Isn't that easy? You can throw it together in about 60 seconds and use it for pretty much anything!
Below are some other ways you can make a non-toxic disinfectant if you don’t have these ingredients on hand.
Other non-toxic products with disinfecting properties:
- Vinegar water (50/50 ratio) (do not use on marble surfaces)
- Hydrogen Peroxide (3 percent; if you want to spray it, you must use a dark spray bottle or screw the nozzle from another spray bottle directly onto the original peroxide bottle.)
- Thieves Oil
- Grapefruit seed extract
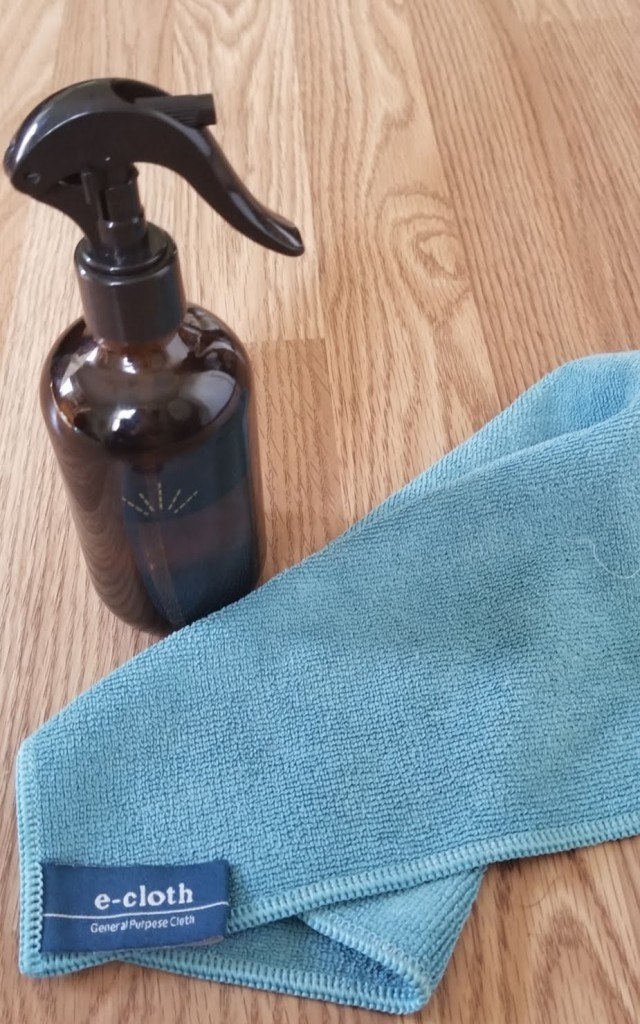
Update March 2020: These days my favorite way to clean is to use an e-cloth (see my review here) to clean up any actual messes, then I spray the surface with plain peroxide (so cheap!) Let it sit for 6-8 minutes, and it kills viruses! I get the ecloths as well as these lovely brown spray bottles for spraying the peroxide from Grove.co (sign up for a Grove.com account through this link and you'll get a free gift.
My Valentine’s Day Wreath
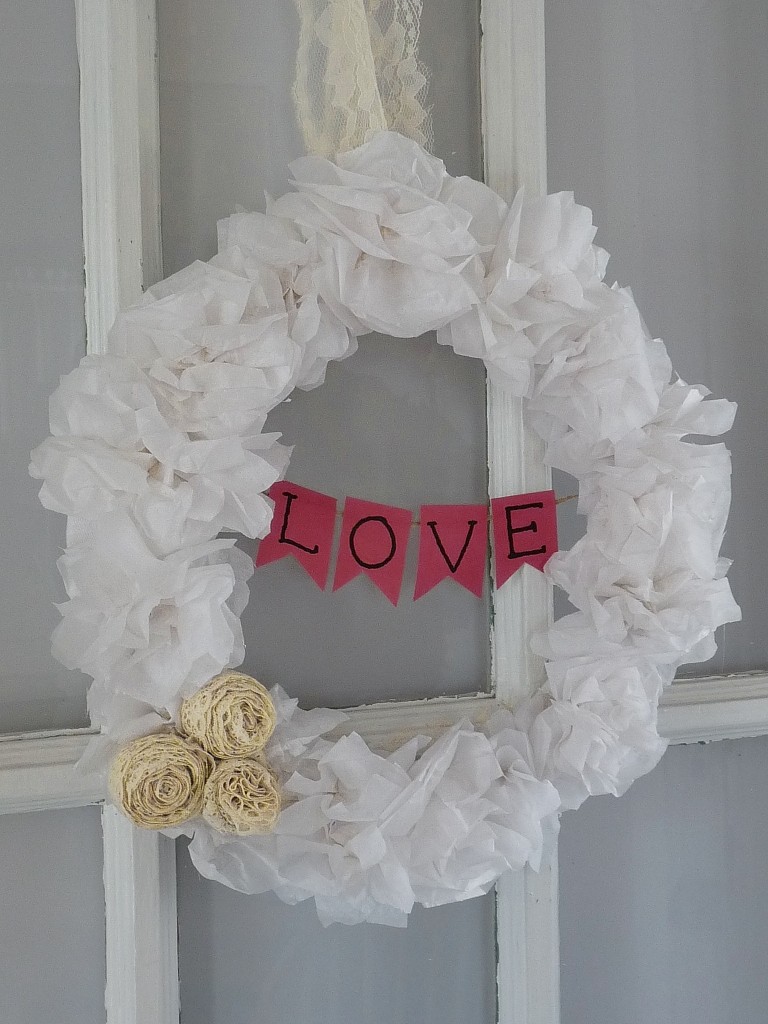
I made this winter wreath back in January, but I made a quick update to turn it into something for Valentine's Day.
First I'll tell you how I made the winter wreath, then I'll tell you how I turned it into a Valentines wreath.
*The best part was that this wreath cost me nothing to make. It was all junk I had stuffed stashed neatly up in the attic.
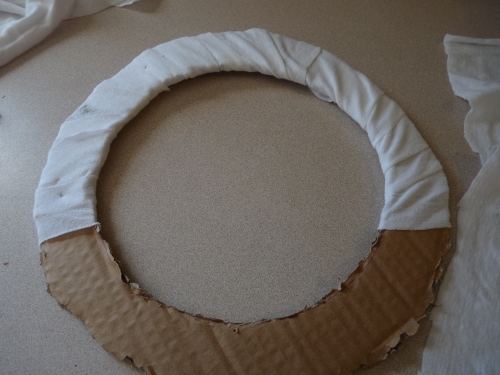
1. First I took a wreath form and traced it onto a piece of cardboard. Then I cut it out and wrapped it in strips of white fabric.
2. Then I started on my flowers. I took tissue paper and cut it into lots and lots of squares. Then I stacked 4 squares together.
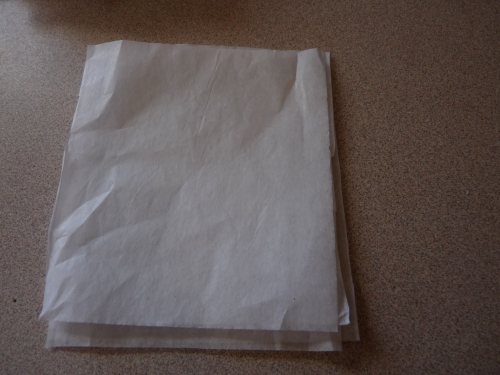
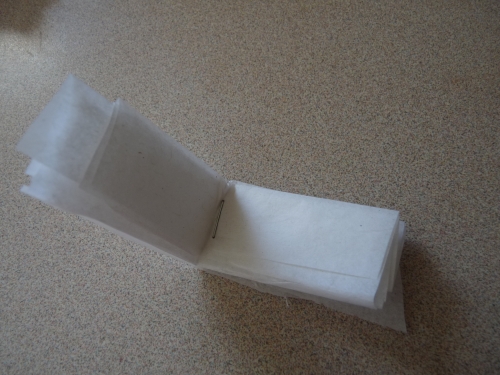
3. I folded the whole stack accordion-style.
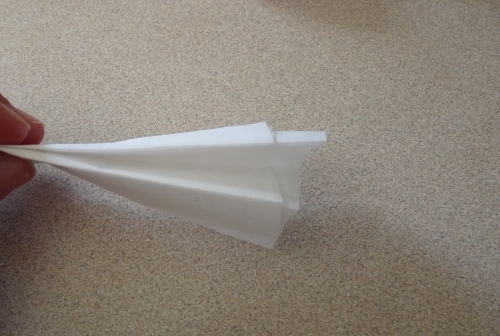
4. Then I folded my “accordion” in half and stapled it in the middle.
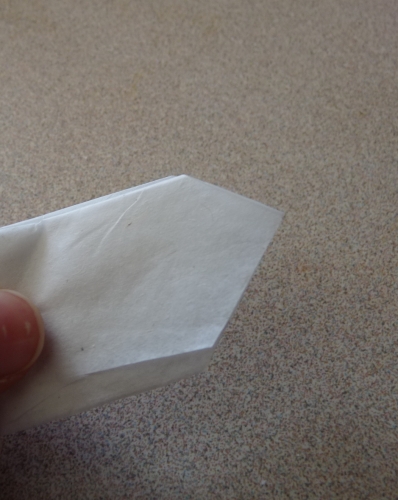
5. Next, I snipped off the ends to form a point. (I figured out later that this step is optional. It makes your flowers look slightly different, but really it's just a matter of preference. Try it with and without snipping and see which way you like it better.)
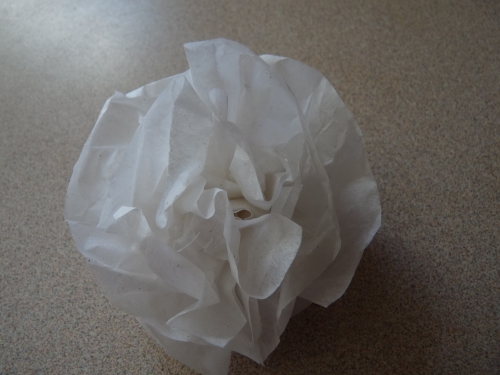
6. All I had left to do was fluff up the tissue paper to turn it into a flower! I carefully peeled apart each layer of tissue paper and fluffed it until it looked like a flower.
I kept making flowers until I thought I had enough to cover the wreath form, but unfortunately I do not have pictures of the rest of the process.
I got distracted by a minor emergency:

Snot, peanut butter, and marker. It was time for me to turn my focus to my kids who had done so well occupying themselves at the table.
The rest of the wreath should be pretty self-explanatory anyway. I hot glued the flowers onto the cardboard wreath form until it was completely covered. Then I took some pieces of lace, rolled them up and glued them on, and added another piece of lace to hang the wreath.
When February arrived, I printed up the word LOVE on red scrapbook paper, cut it out, and taped it to some twine. I taped the twine onto the back of the wreath, and I was done!
I've never done any sort of Valentine's Day decor before, and I had fun cheering up my door with a free Valentines Wreath!
Did you do anything special to your house for Valentine's Day?
15 Minute Tasks for the Week
If you're just joining us this week, this program is set up so that you can jump in right where you are!
Last week we worked on disinfecting the remaining bedrooms. I hope you didn't find any bed bugs! This infographic from Moxie Pest Control tells you exactly how to look for them and how you can get rid of them.
This week we’re going to focus on organizing any of the bedrooms that you didn't work on a couple weeks ago. I’ll be focusing specifically on the master bedroom, but do whatever works for you.
Be thinking ahead how to best organize your bedrooms so that you can be gathering the necessary supplies. Andrea posted a very inexpensive way to make matching organizational bins, and Nicole shared some great tips for organizing small spaces.
Monday
Head into the room with a trash bag and three boxes. Set the timer for 15 minutes and begin a purge of the room. Work your way around the room clockwise and go through every closet, drawer, nook, and cranny. Throw away any trash, add anything you do not need to one box to be donated or sold. Add anything that belongs in another room to the other box to be put away. In the third box, place items on which you are undecided. You may think you can’t bear to part with something, but by the end of the week you may realize it’s time to let it go. (Don’t focus too much on cleaning out the clothes unless you readily see something you know you need to get rid of. We’ll be spending a couple days dedicated to just clothing later on.)
Tuesday
Continue with another 15 minutes of purging. If you finished one bedroom on Monday, work in another bedroom.
Wednesday
Set the timer for 15 minutes and work on organizing one closet shelf or drawer. Place like items together in bins or baskets. Over-the-door shoe holders work well for holding small items such as small toys, scarves and accessories, or hey, even…shoes! If you’re working in a child’s room, organize the room in such a way that is easy for children to keep organized themselves. Label dresser drawers or toy bins (use pictures if they can’t read) so that children can put their items away in the correct places all by themselves. If you're an adult, don't be embarrassed to label bins for yourself too. We all forget sometimes what we decided belongs where.
Thursday
Work for another 15 minutes on organizing another area of the room.
Friday
You guessed it! Another 15 minute organizing session in the bedroom!
Saturday
Take 15 minutes to wrap up loose ends in the bedroom. If you have boxes of things that you haven’t decided what to do with, now is the time to make a decision. Decide where the items belong and put them away, or put them in your donate box.
How did you do last week? Did you get those bedrooms disinfected? It makes you feel wonderful when you walk into the room, doesn’t it?
If you’re just joining us, you’ll probably want to subscribe to email updates or follow along on Facebook so you can keep up with each week’s new tasks.
Disclosure: This is a sponsored post.
Organized Homeschooling: How to Keep Those Records Straight! (Part 2)
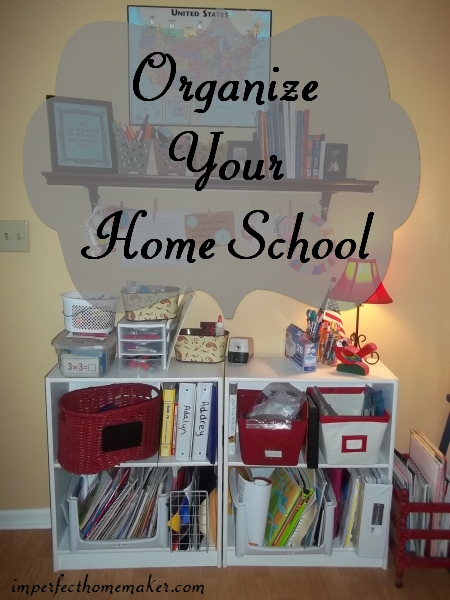
The following is a guest post from my sister-in-law Lauren.
In the previous post, we looked at where to find all the papers you need to organize your home school.
Now, we must look at how to get all those mounds of papers organized into the filing cabinet in a functional and effective way! I also want to include in this organizational project, my own personal three ring binder that I keep out of the cabinet and on my “school shelf”.
I have moved all of my homeschooling posts to christianhomeschoolfamily.com.
You can go here to read this post at the new site.