DIY Hurricane Using FrogTape®
This is a Sponsored post written by me on behalf of FrogTape Brand Painter’s Tape. All opinions are 100% mine.
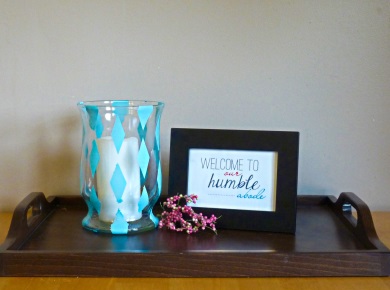
I painted this hurricane using FrogTape® Shape Tape™. It was a little bit challenging at first due to the curvy shape of the hurricane, but once I figured out what I was doing I got on a roll and was able to complete the project fairly quickly.
(FrogTape® is the only painter's tape treated with PaintBlock® Technology. PaintBlock is a super-absorbent polymer which reacts with latex paint and instantly gels to form a micro-barrier that seals the edges of the tape, preventing paint bleed. Check out thisFrogTape how-to for more details.)
Step 1: Start with a clean, dry hurricane or vase.
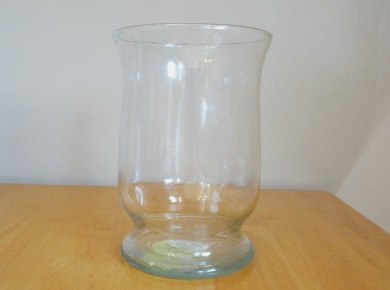
Step 2: Measure and cut pieces of FrogTape® Shape Tape™ to create the design you have chosen. Peel off one half of the backing.
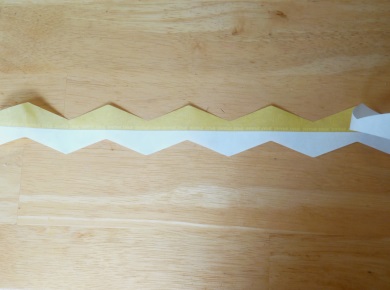
Step 3: Adhere the tape to your hurricane. Continue until you have completed your desired design.
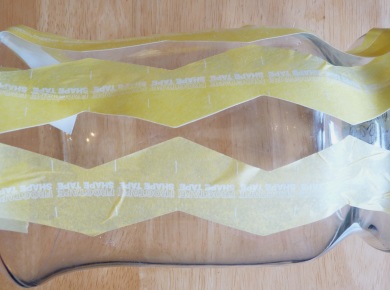
Step 4: Remove the other half of the backing and secure the tape firmly with your fingers. Then use a firm plastic object to smooth the edges of the tape. (I used an old gift card.)
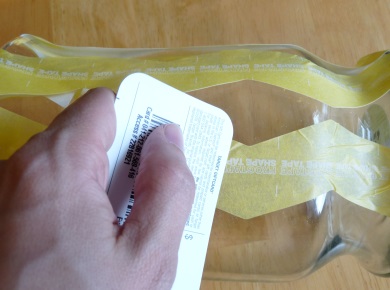
Step 5: Ensure that your design looks exactly like you want it, then paint directly over the tape to fill in the bare design.
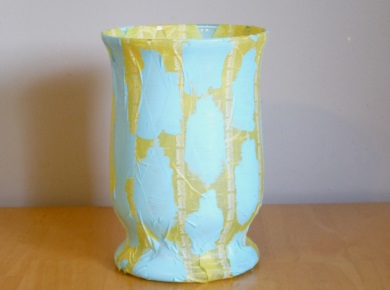
Step 6: After the paint is dry, remove the tape from your project and enjoy the finished product!

I had fun trying out a new project. What project would you like to try using FrogTape® Shape Tape™? You can find tons of creative inspiration when you follow FrogTape® on Twitter @FrogTape!
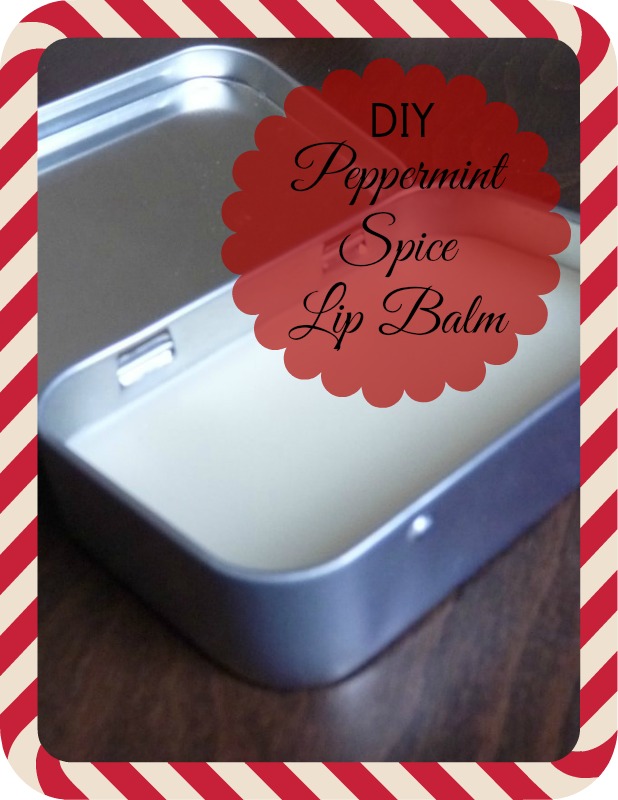
DIY Peppermint Spice Lip Balm
I love this DIY Peppermint Spice Lip Balm! I intended to make it for gifts, but I ended up keeping it for myself!
It's so easy to make too! Here's what you do:
Melt the following in a saucepan:
- 2 Tablespoons coconut oil
- 1 Tablespoon beeswax beads
- 1 Tablespoon cocoa butter
When everything has turned to a liquid state, add 3 drops peppermint oil. Pour into desired container (I used an old tin from a pack of mints.)
Enjoy!
Framed Fabric Monogram
Disclosure: The materials for this Framed Fabric Monogram as well as compensation for this post were provided by Martha Stewart/Plaid Crafts and Blueprint Social.
You all may know by now that I'm not the most artistic person in the world. However, I still enjoy beautiful things and crafts as much as any other woman. It's just that anything I do has to be pretty much dummy-proof or I will find some way to mess it up!
When I found out that I would have the opportunity to try out items from the Martha Stewart Decoupage line, I immediately thought of an easy project that even someone like me could complete.
First, here are all the goodies I recieved:
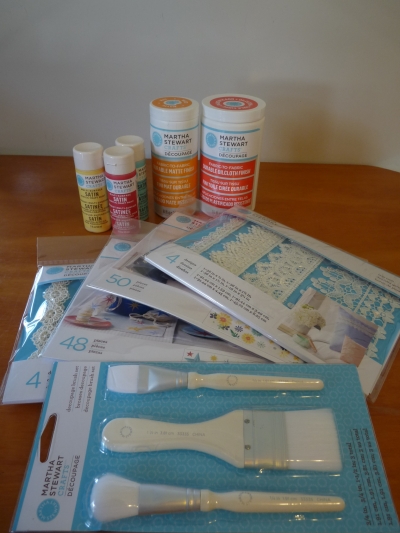 There were so many craft possibilities with all of the lace trims, fabric cutouts, and different finishes of decoupage. All of the Martha Stewart decoupage products are available at Michael's.
The supplies I used for this craft were:
- Martha Stewart fabric-to-fabric decoupage (I used the matte finish)
- Martha Stewart decoupage brushes
- Fabric of choice (I used a sheet I found at the thrift store)
- Card stock
- Picture frame
Here's how I did it:
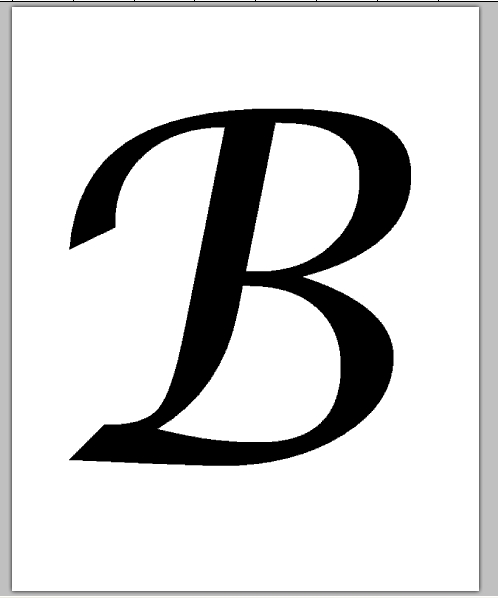
First, I found a font that I liked and printed it off on the computer.
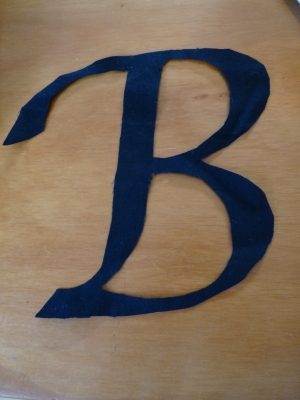
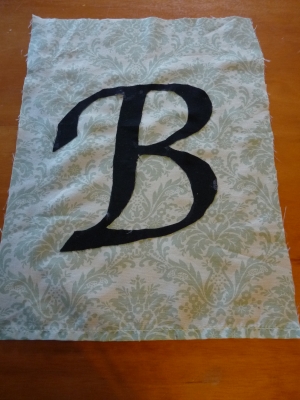
I cut it out and used it as a template to cut out an identical piece of black fabric.
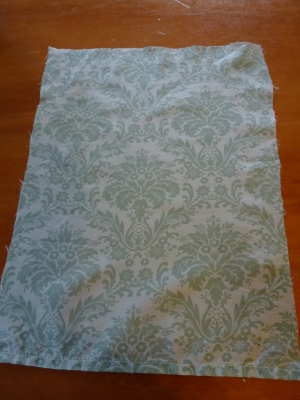
Next I used a piece of card stock as a template to cut my base fabric the right size.
I applied a layer of decoupage on the back of the monogram and adhered it to the center of my base fabric.
Then I applied several coats of decoupage over top of the whole thing to seal it. I did this several times, giving it a couple hours of drying time in between.
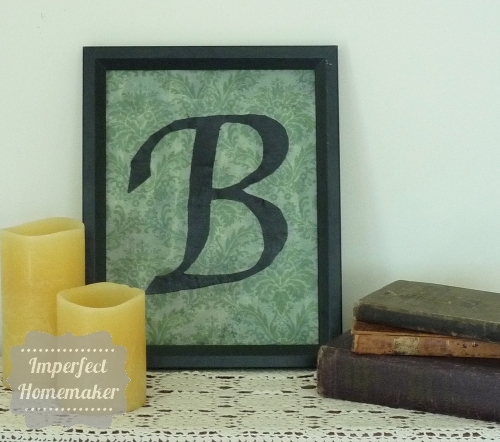
Finally, I adhered the entire thing to a piece of card stock and stuck it in a frame. I opted to leave it without the glass so that the texture of the fabric could be more prominently displayed. (By the way, this is a great way to use thrift store frames that are missing their glass!)
That was it! Done quickly and easily! If I can do it, anyone can!
Be sure to follow Plaid for lots more ideas:
Blog :: Facebook :: Twitter :: Pinterest
You can also check out what other bloggers are doing with the Martha Decoupage products:
My Valentine’s Day Wreath
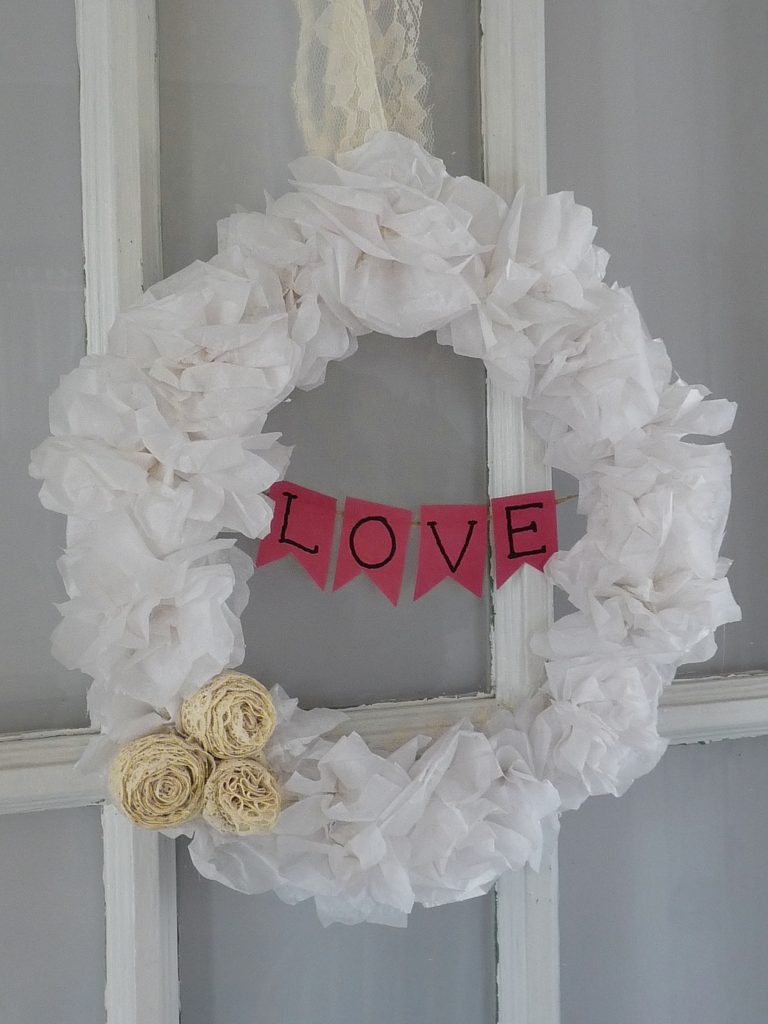
I made this winter wreath back in January, but I made a quick update to turn it into something for Valentine's Day.
First I'll tell you how I made the winter wreath, then I'll tell you how I turned it into a Valentines wreath.
*The best part was that this wreath cost me nothing to make. It was all junk I had stuffed stashed neatly up in the attic.
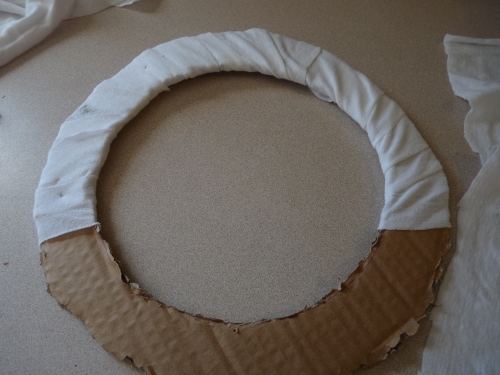
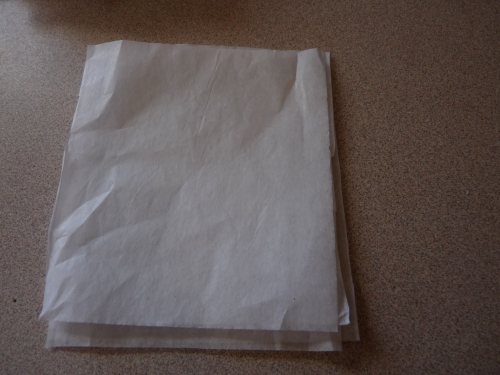
1. First I took a wreath form and traced it onto a piece of cardboard. Then I cut it out and wrapped it in strips of white fabric.
2. Then I started on my flowers. I took tissue paper and cut it into lots and lots of squares. Then I stacked 4 squares together.
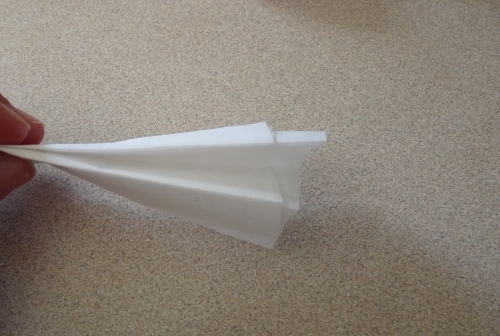
3. I folded the whole stack accordion-style.
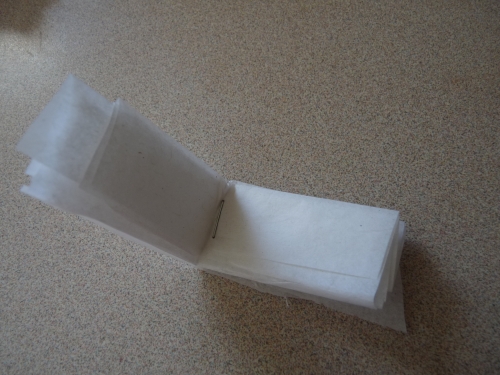
4. Then I folded my “accordion” in half and stapled it in the middle.
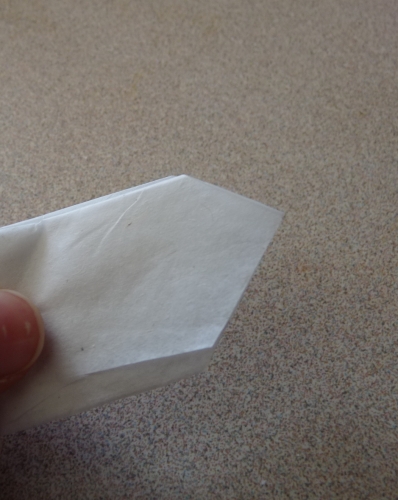
5. Next, I snipped off the ends to form a point. (I figured out later that this step is optional. It makes your flowers look slightly different, but really it's just a matter of preference. Try it with and without snipping and see which way you like it better.)
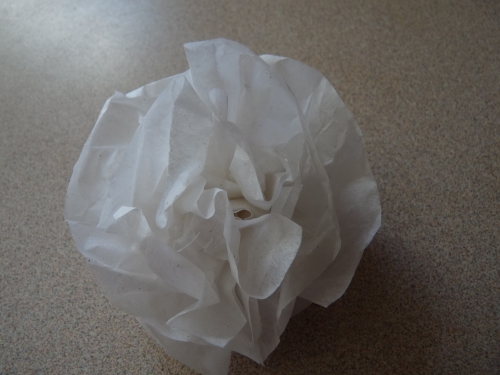
6. All I had left to do was fluff up the tissue paper to turn it into a flower! I carefully peeled apart each layer of tissue paper and fluffed it until it looked like a flower.
I kept making flowers until I thought I had enough to cover the wreath form, but unfortunately I do not have pictures of the rest of the process.
I got distracted by a minor emergency:
Snot, peanut butter, and marker. It was time for me to turn my focus to my kids who had done so well occupying themselves at the table.
The rest of the wreath should be pretty self-explanatory anyway. I hot glued the flowers onto the cardboard wreath form until it was completely covered. Then I took some pieces of lace, rolled them up and glued them on, and added another piece of lace to hang the wreath.
When February arrived, I printed up the word LOVE on red scrapbook paper, cut it out, and taped it to some twine. I taped the twine onto the back of the wreath, and I was done!
I've never done any sort of Valentine's Day decor before, and I had fun cheering up my door with a free Valentines Wreath!
Did you do anything special to your house for Valentine's Day?
Did You Know That You Can…
…paint your shoes?!
A long time ago I saw that my friend Laine had painted a pair of her shoes that were getting old and scuffed.
Last week I had a chance to put that tidbit of knowledge to good use.
My black flats had gotten old and nasty, plus they somehow had gotten too small for me. Seriously? Your feet grow when you're this old?
Anyway, I didn't think about it much through the summer because I always wore black sandals. The other day I got all dressed to go run errands, but before I left I realized I didn't have any shoes to match, other than the old, nasty, too-small shoes.
I did, however, have two pairs of brown flats, one of which always got scuffed on the toes no matter how much I tried to protect them.
I had some black acrylic paint on hand, and I decided that today was the day to give myself some black shoes.
I didn't have a foam brush, so I just grabbed a kitchen sponge, squirted some of the paint on it, took a deep breath, and started painting.
It worked!
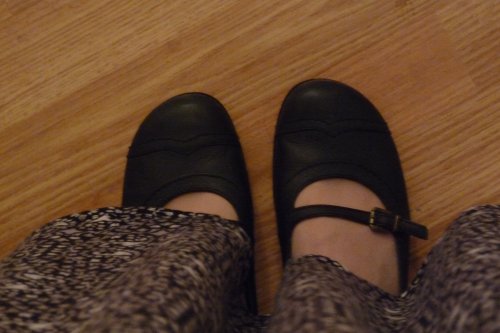
My picture is horrible since it was dark when I decided to take it, and it's still too dark this morning to try again.
But let me tell you – you cannot tell that black is not the original color of these shoes!
They're leather, and when I first painted them, they looked fine, but they were kind of dull. But the longer they sit, the more they're taking on the appearance and texture of the leather.
Can I just say that I love blogs? And I love it when people blog about all the who-woulda-thought things that they do!
And I'm also thankful that God provided a pair of black shoes for me – for free!
Pretty Frosted Glass Door
Our house is quite old, and there are a whole lot of things about it that are definitely less than perfect. But we are so thankful for it, and we're doing the best that we have with what we've got.
Our driveway is laid out in such a way that pretty much forces everybody to come to the back door. Before you get to the kitchen door you have to go through a glass door into the laundry room. If I know somebody is coming, I will of course have the laundry room cleaned up a little bit, but when I'm just going through my daily routine, there may be piles of laundry out there, the floor may be dirty, etc. If the mail carrier or UPS driver comes up to leave something on the porch, they get a full view of the inside of my laundry room, regardless of what it may look like at the time.
And if I happen to be out there doing laundry when somebody unexpected comes to the door, I may not exactly feel like being seen, depending on my appearance at the time.
We used to keep a curtain on the door, but once we had kids, that made things look even worse than they already did. They would pull it off of the door, and they got little baby snot stains all over it.
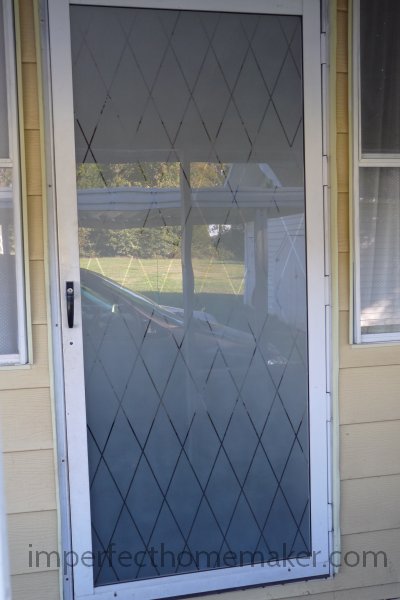
We wanted to put frosting paint on it to provide some privacy, but we didn't want the entire thing covered. We wanted to think of a way to create some sort of design on it, but we didn't want to create a huge, time-consuming project for ourselves. My mom suggested making a diamond pattern since that could be made with straight lines. That was a great idea, but I wanted to use really thin tape so that the un-frosted part would not be thick enough for people to easily see through the door. The only problem was that we couldn't find anything like that anywhere.
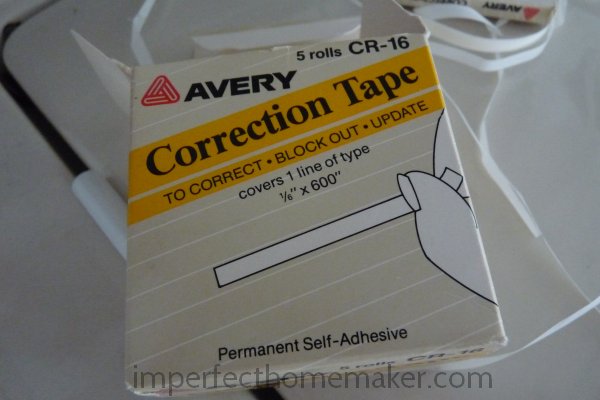
One day I was at an indoor yard sale that our town has (it's like a giant thrift store, but everything is just thrown on tables or in boxes and nothing is priced). I spotted this and I knew immediately that it was exactly what I was looking for. They charged me a whopping 33 cents for it!
I didn't even know what this stuff was, but my mom said it's for using with typewriters. Okay then, that's why I didn't know. I did a search, though, and you can still buy this stuff on Amazon. Now you know where to get it if you decide you want to do a door like mine! 🙂
Once I found that, we got to work right away procrastinated forever on designing our door.
We finally got to it this last weekend, and I am so glad it's done!
Here's how we did it:
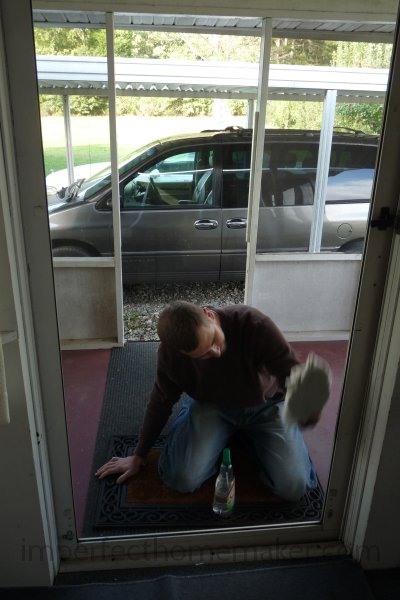
First, we washed the door thoroughly, inside and out. We just used vinegar water. I'm not sure if a commercial cleaner might leave a residue that would interfere with the paint sticking.
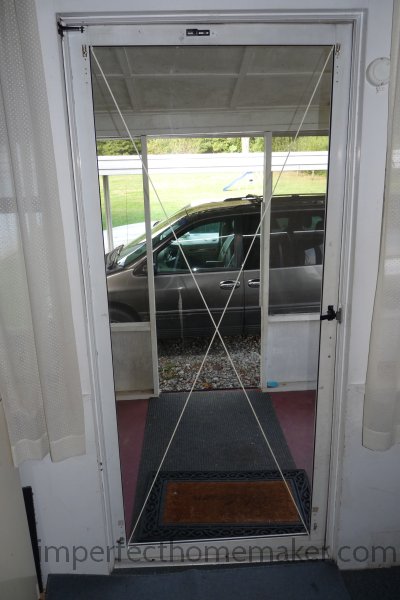
We started our diamond design by making an “x” corner to corner on the door. We used our fingernails and really made sure the tape was secured tightly to the door. After we added each piece of tape, we numbered them so that we would know the order in which to take them off.
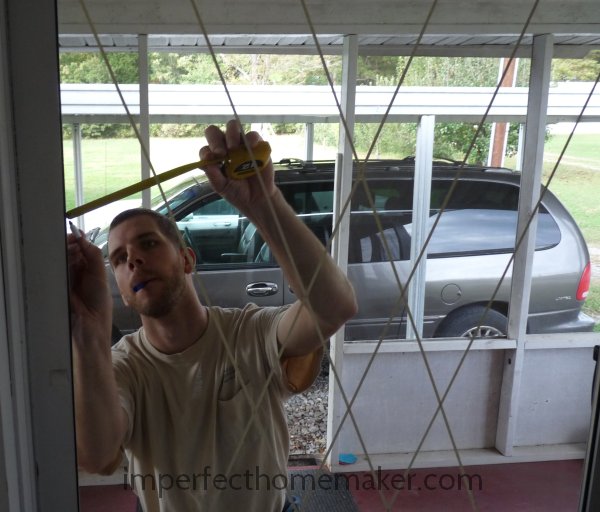
Then we measured 5 inches away from each line and placed another piece of tape top to bottom on the door.
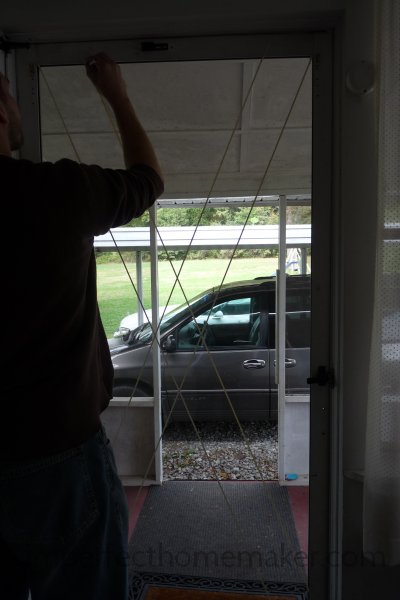
We continued to measure 5 inches away from each line and place new lines diagonally top to bottom. We used a dry erase marker on the outside of the door to mark our 5 inch measurements. We made a mark at the top and bottom of where each piece of tape should go, then matched the tape up to the mark on the inside of the door. By matching up the marks at the top and bottom, we were able to keep our lines perfectly straight.
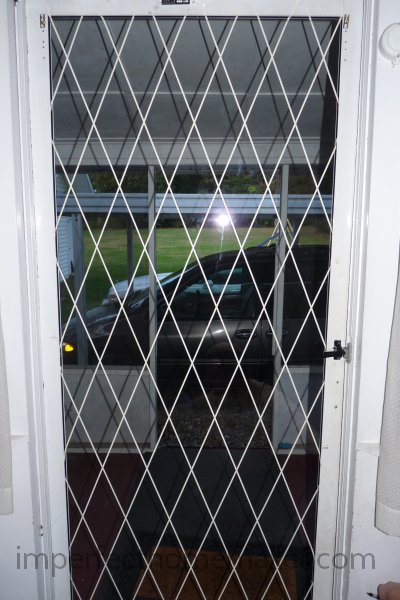
Here is the door after we finished taping off our design. It was getting dark – it took a lot longer than I thought it would.
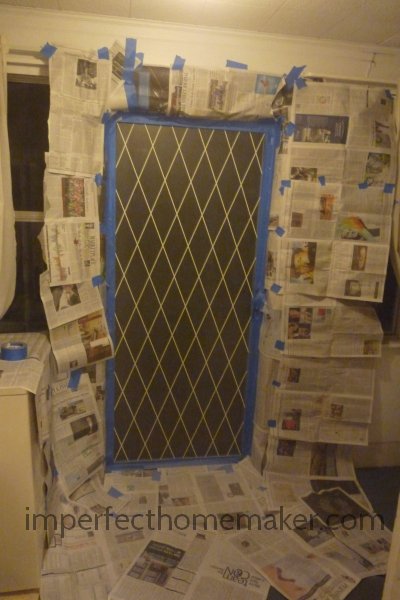
Then we taped off the edges of the door and the door handle, and we covered any surrounding areas with newspaper. This picture was taken after the first coat of paint had already been sprayed, which is why it's kind of hazy. I was dealing with a dirty diaper at the time, and my poor husband did not realize that the laundry room windows could be opened. I really don't recommend spraying without the windows open!
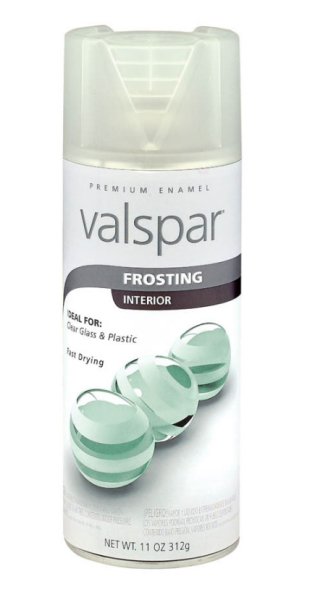
This is what we were spraying on the door. I'm not sure if my husband sprayed two coats or three, but I do know that it took two entire cans of paint. (They don't sell this particular brand on Amazon, but this is the same thing. Buy it here.)
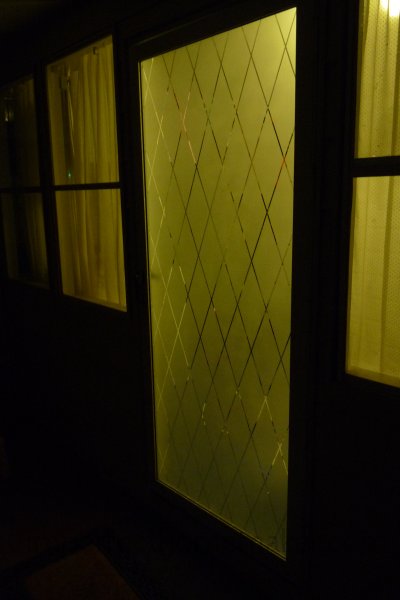
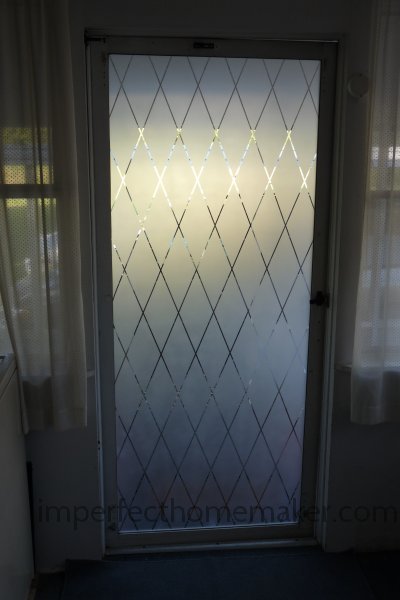
We let the paint dry for just a few minutes before we removed the tape. We didn't want to let it dry too much for fear it would crack when we pulled the tape. It was completely dark by the time we got done. You can see how nice it's going to be to be able to be in the laundry with the light on at night and not have people able to see straight inside our house!
Now the mailman can leave packages on our porch without getting a scary view of me in my PJ's!
It's really hard to get a good shot of it because of the glare. The lines came out perfect – no seeping of the paint anywhere even though it sort of looks that way in the pictures. I'm very happy to finally have some privacy in my laundry room, and I'm excited that it looks pretty as well!
Update: I just discovered this frosted glass film on Amazon! It seems like it might be easier to just stick the film on than to tape everything off and spray it. Plus you don't have to worry about the spray paint getting chipped off if you use an adhesive film.

